How to Setup a LettrLabs Integration Order with Zapier to Programatically Send Direct Mail
In this article we’re going to review what Zapier is and how to use triggers from your CRM to send direct mail with LettrLabs.
Video Explainer Video
What is Zapier
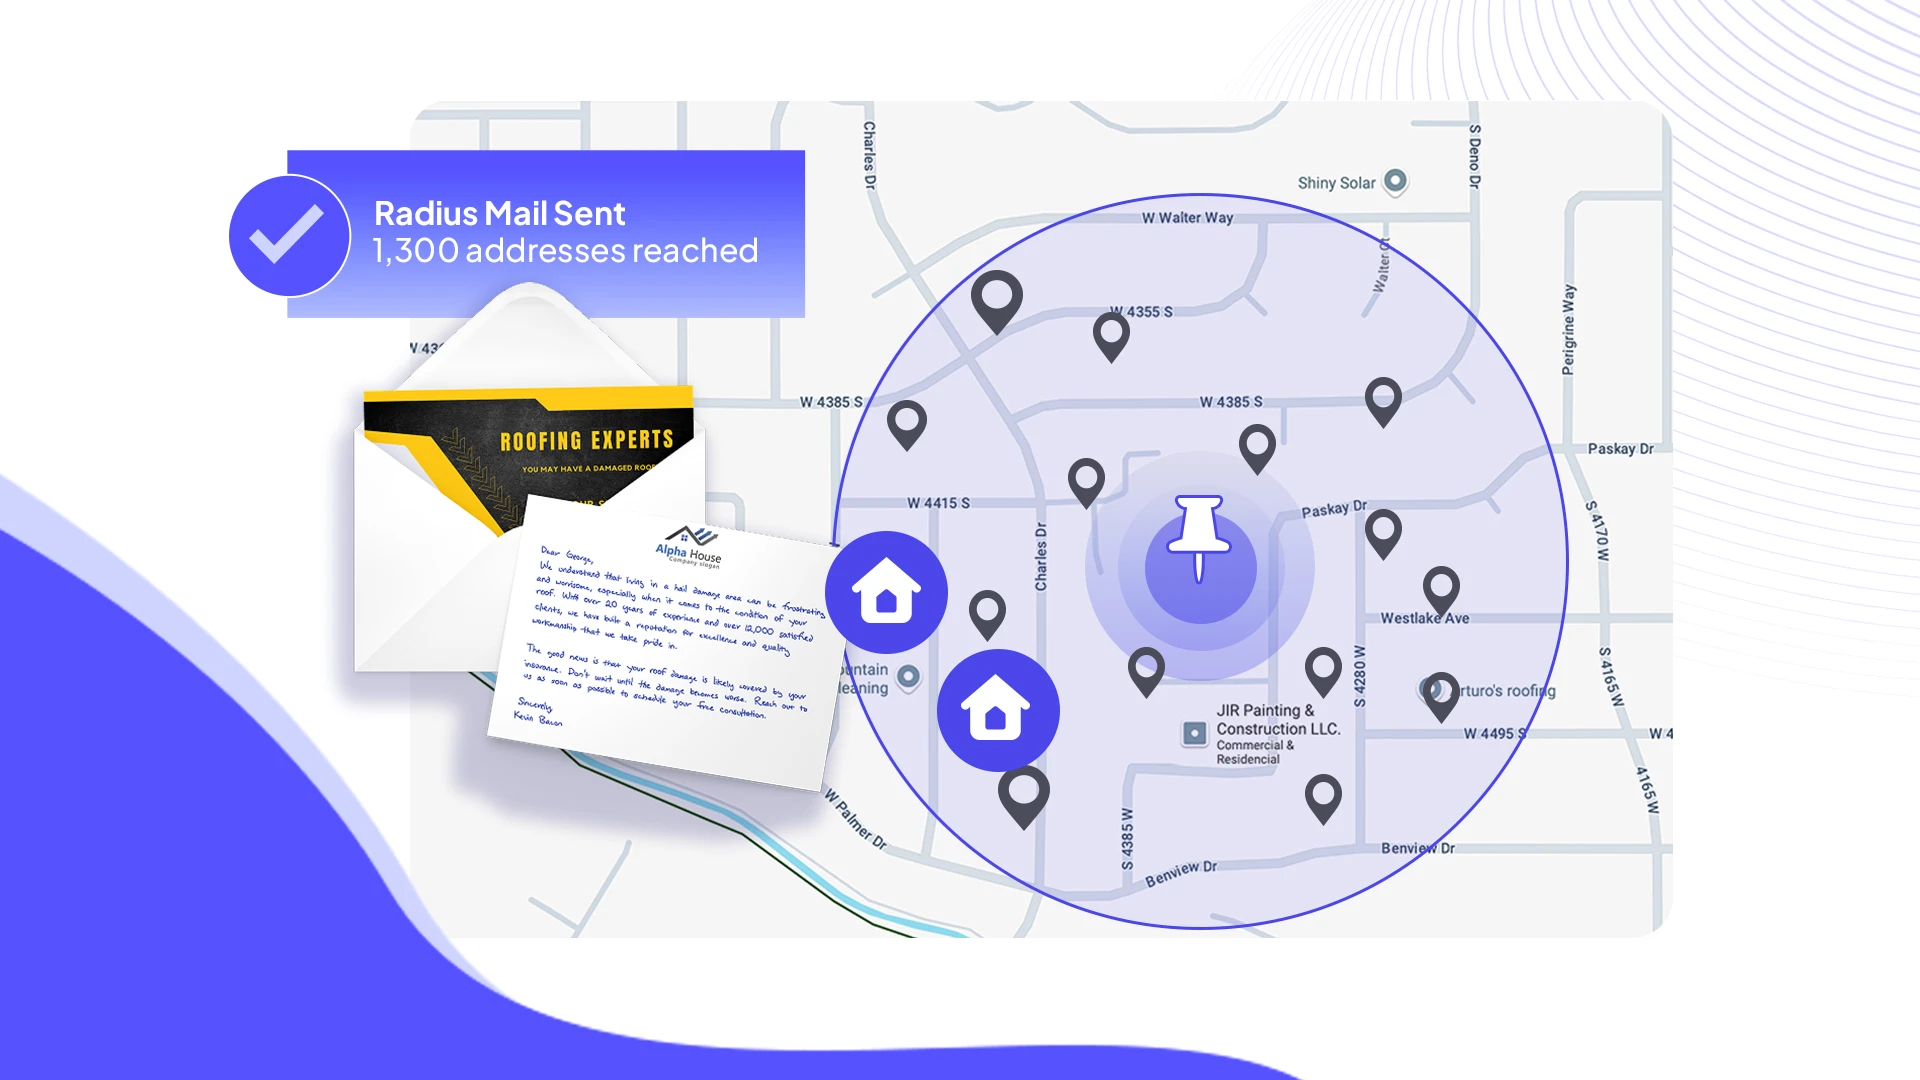
Zapier is an online automation tool that connects your CRM or other app, such as Gmail, Slack, and more, to automate sending direct mail within LettrLabs without any coding or relying on developers to build the integration. It allows you to create "Zaps," which are workflows that connect your CRM and LettrLabs together. For example, you can set up a Zap to automatically send a Radius mailing around a pin address.
How to Use Zapier and LettrLabs
How to set up your LettrLabs account to receive your Zaps. The first thing you will want to do is create a template that you will use to send your direct mail orders. See “How to Create a Template” for instructions on how to create a template.
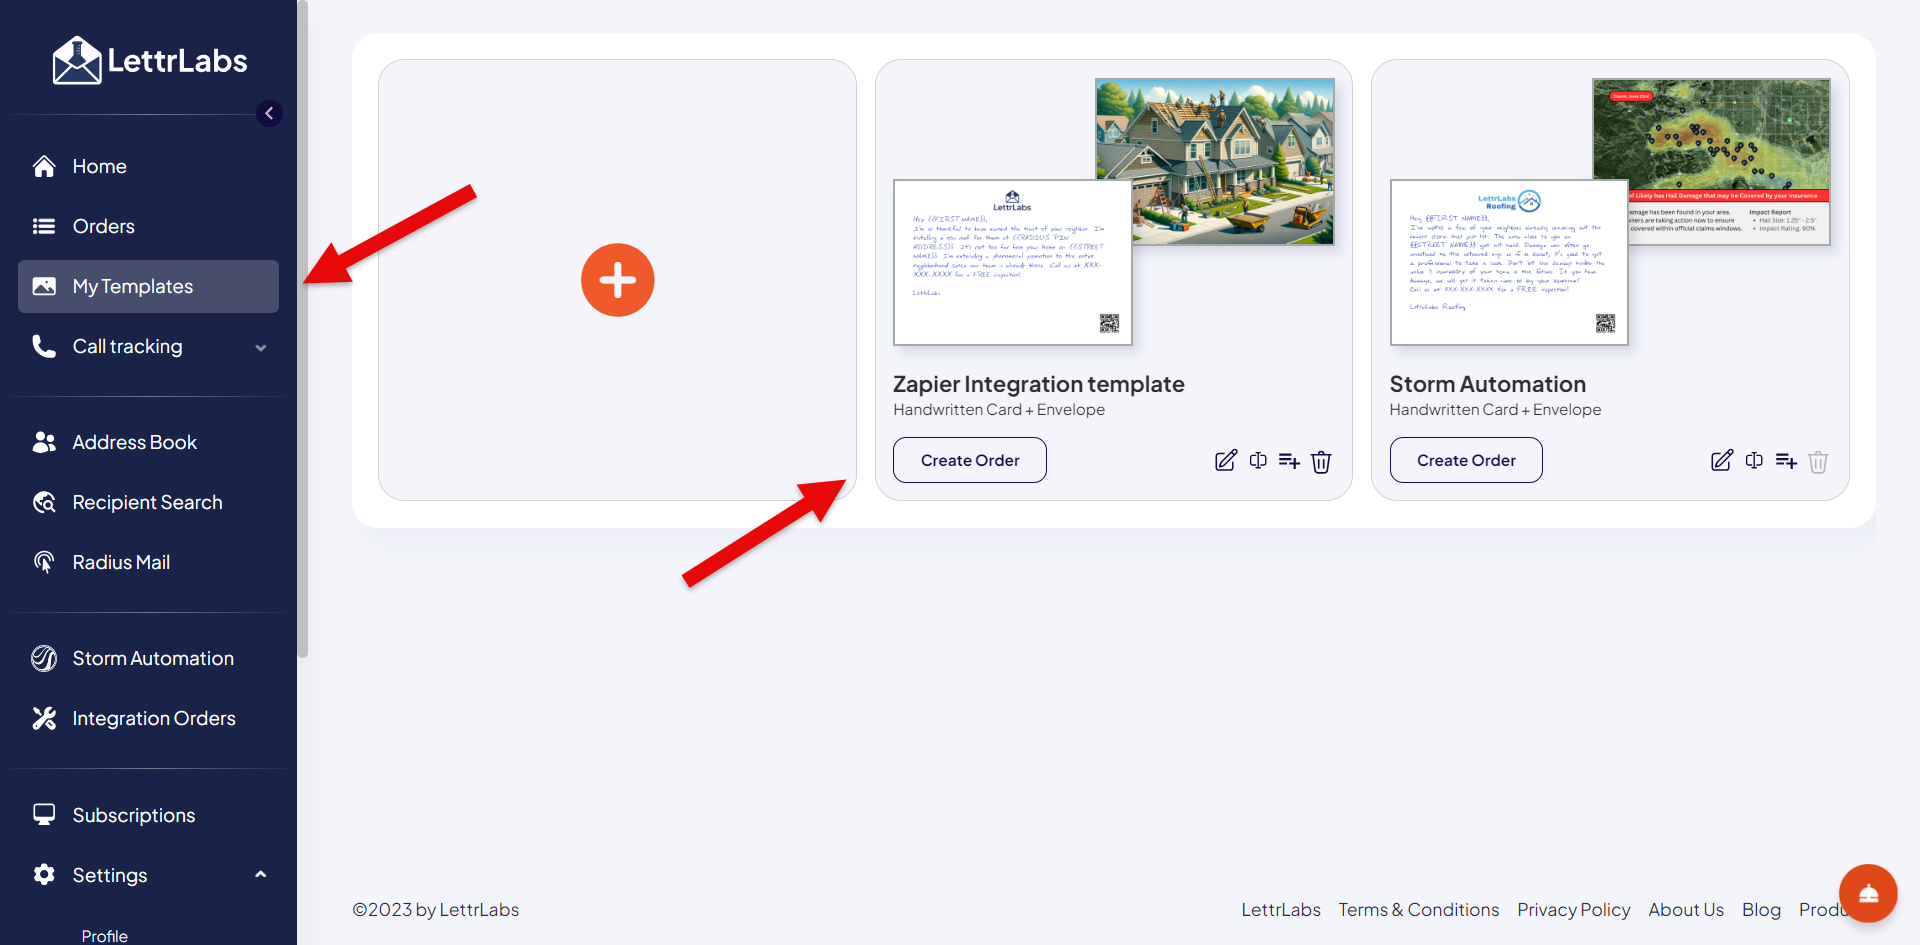
Let’s get our template ready to be integrated. Click the “Use Template as Integration Order” button.
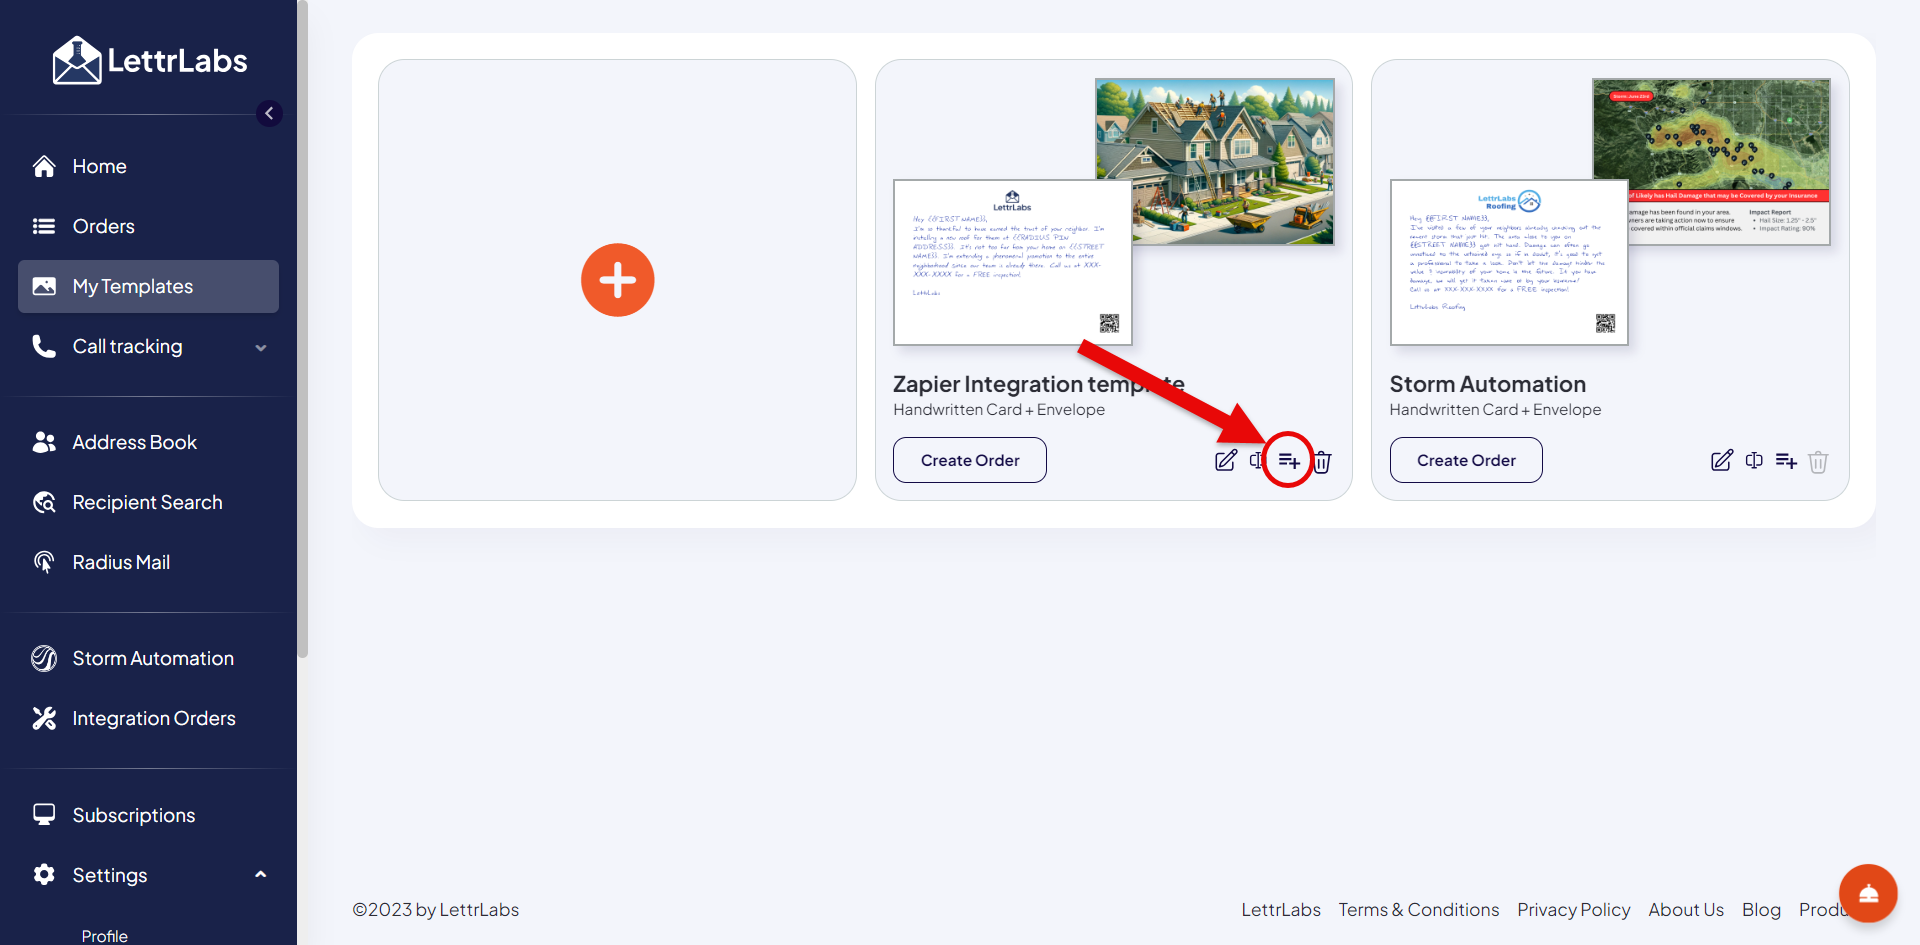
Name your Integration Order and click “Create”.
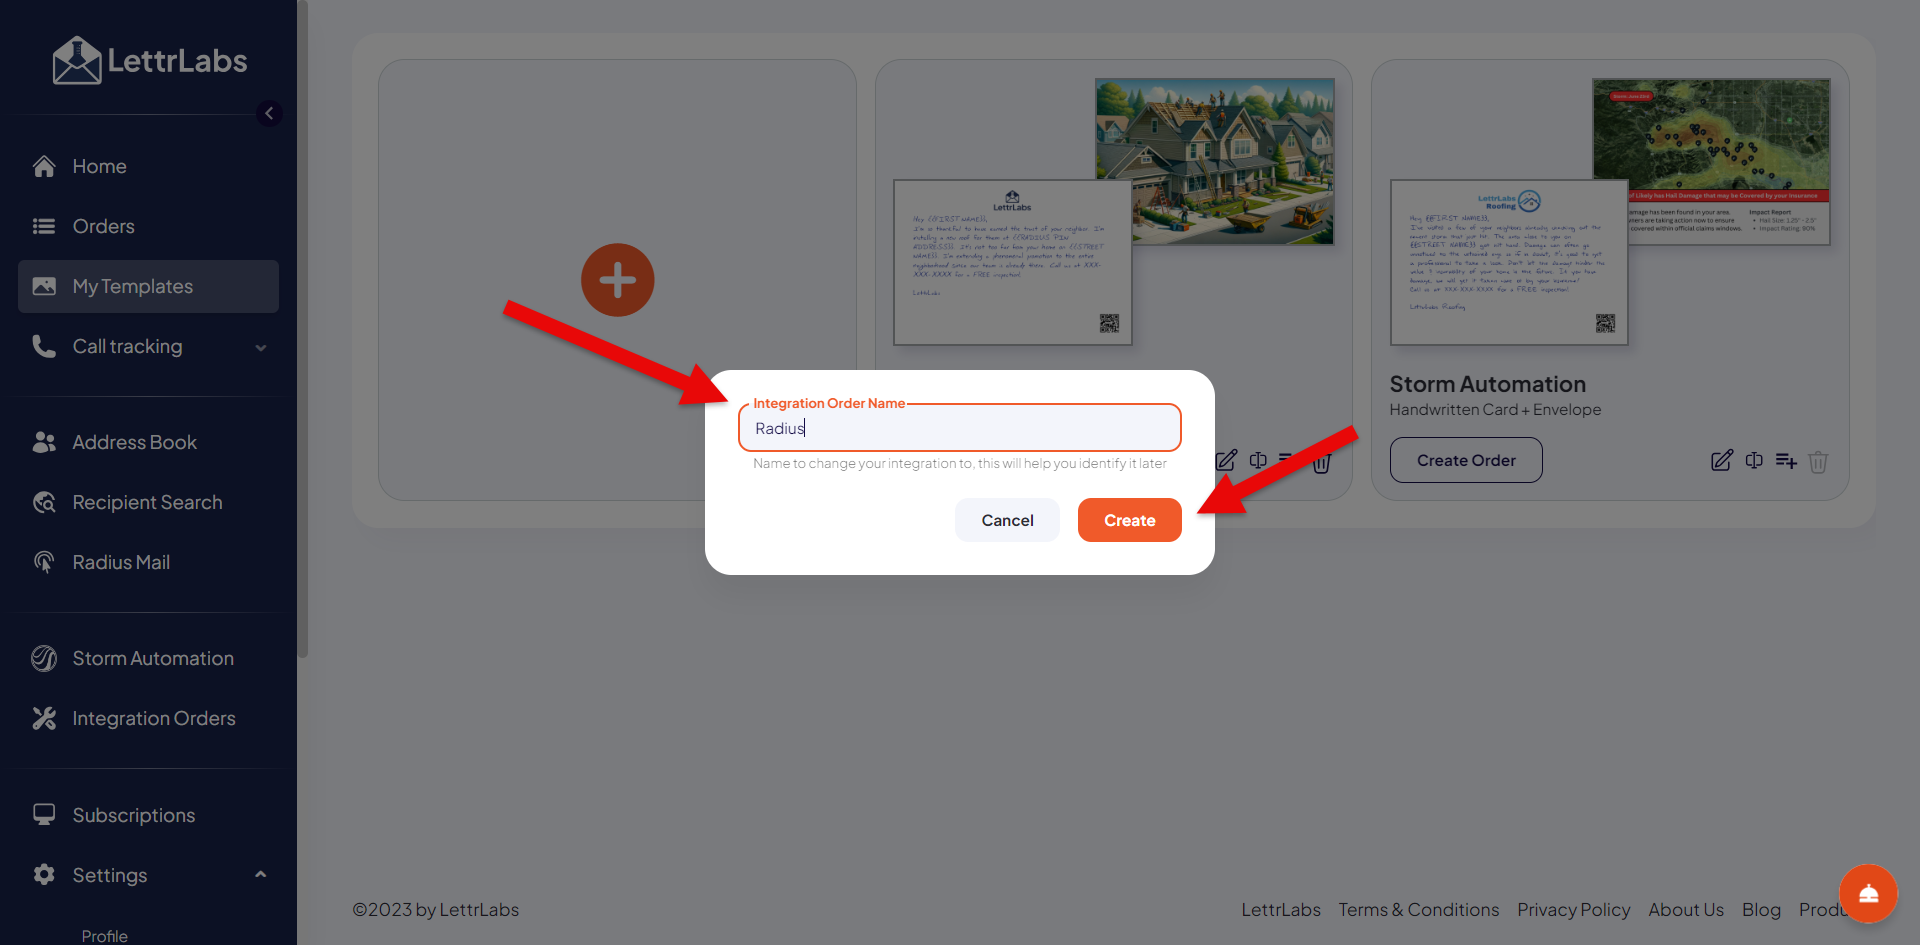
Now when you click on Integration Orders, you will see your Template is there and is in “Testing” Status. We will come back to this.

Next you will need to set up your Zapier account. From the LettrLabs portal, click on “Integration Orders” tab on the lefthand side of your screen, then click “Set Up Zapier” in the upper righthand corner of the page.
When setting up your LettrLabs account to be able to accept the integration from Zapier, we need to create an API key. To do this, you’ll first enter a name for your API key. (You can name your API key anything you want.)
After entering your API Key name, click "Add New". A popup will appear with a long string of letters and numbers. Copy the API text string to your clipboard. The API key will only appear once
(due to security policies), so make sure to copy it. If you need to create another one, you can. You can create as many API keys as you need. (You will see them listed below your API Keys field.)

Now that you have your API key copied, we can take that API Key and add it to Zapier to connect LettrLabs with your CRM. Open Zapier and login or create an account. Click Apps on the lefthand side, then click the Blue “+Add Connection” button.

Search for LettrLabs and add your API key that you have copied in your clipboard and then click the orange “yes, Continue to LettrLabs” button.


Now your LettrLabs account is connected to Zapier and you can connect your CRM to Zapier. You will see it listed here. *You only have to add the API once. After it’s added your Zapier account and LettrLabs will be connected for all of your Zaps.
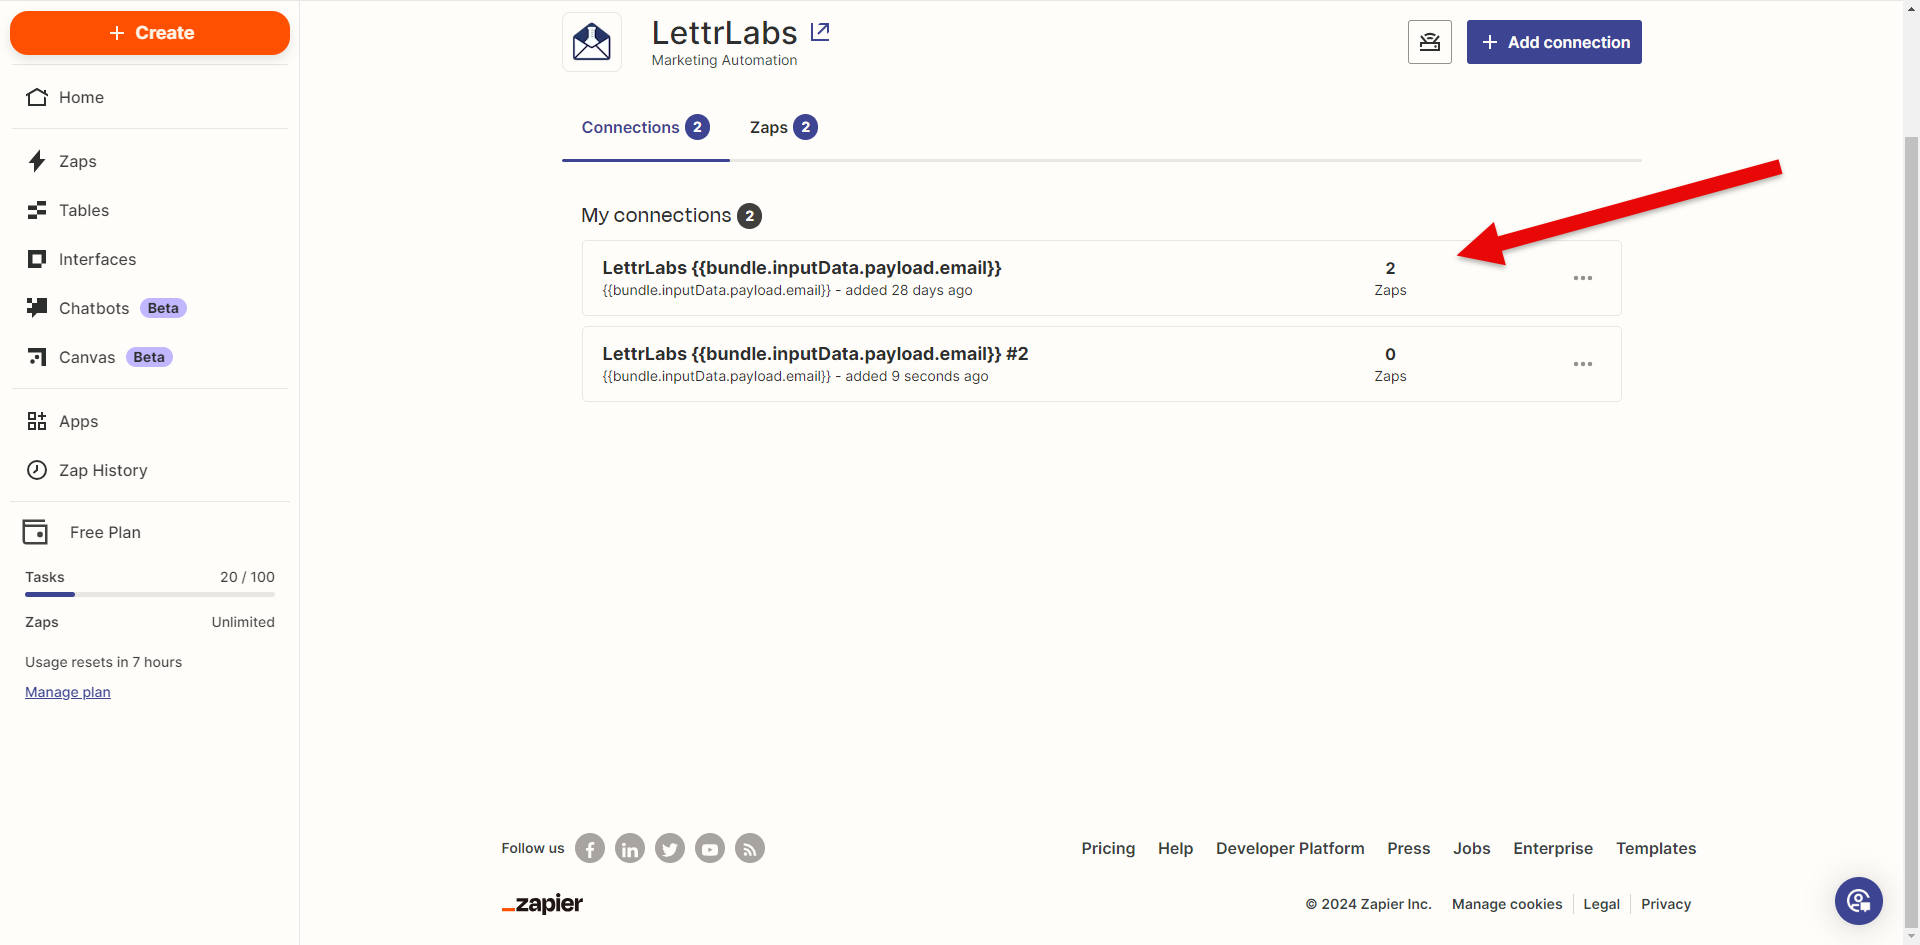
Create your first Zap. Click the Zap button on the lefthand side of your screen.

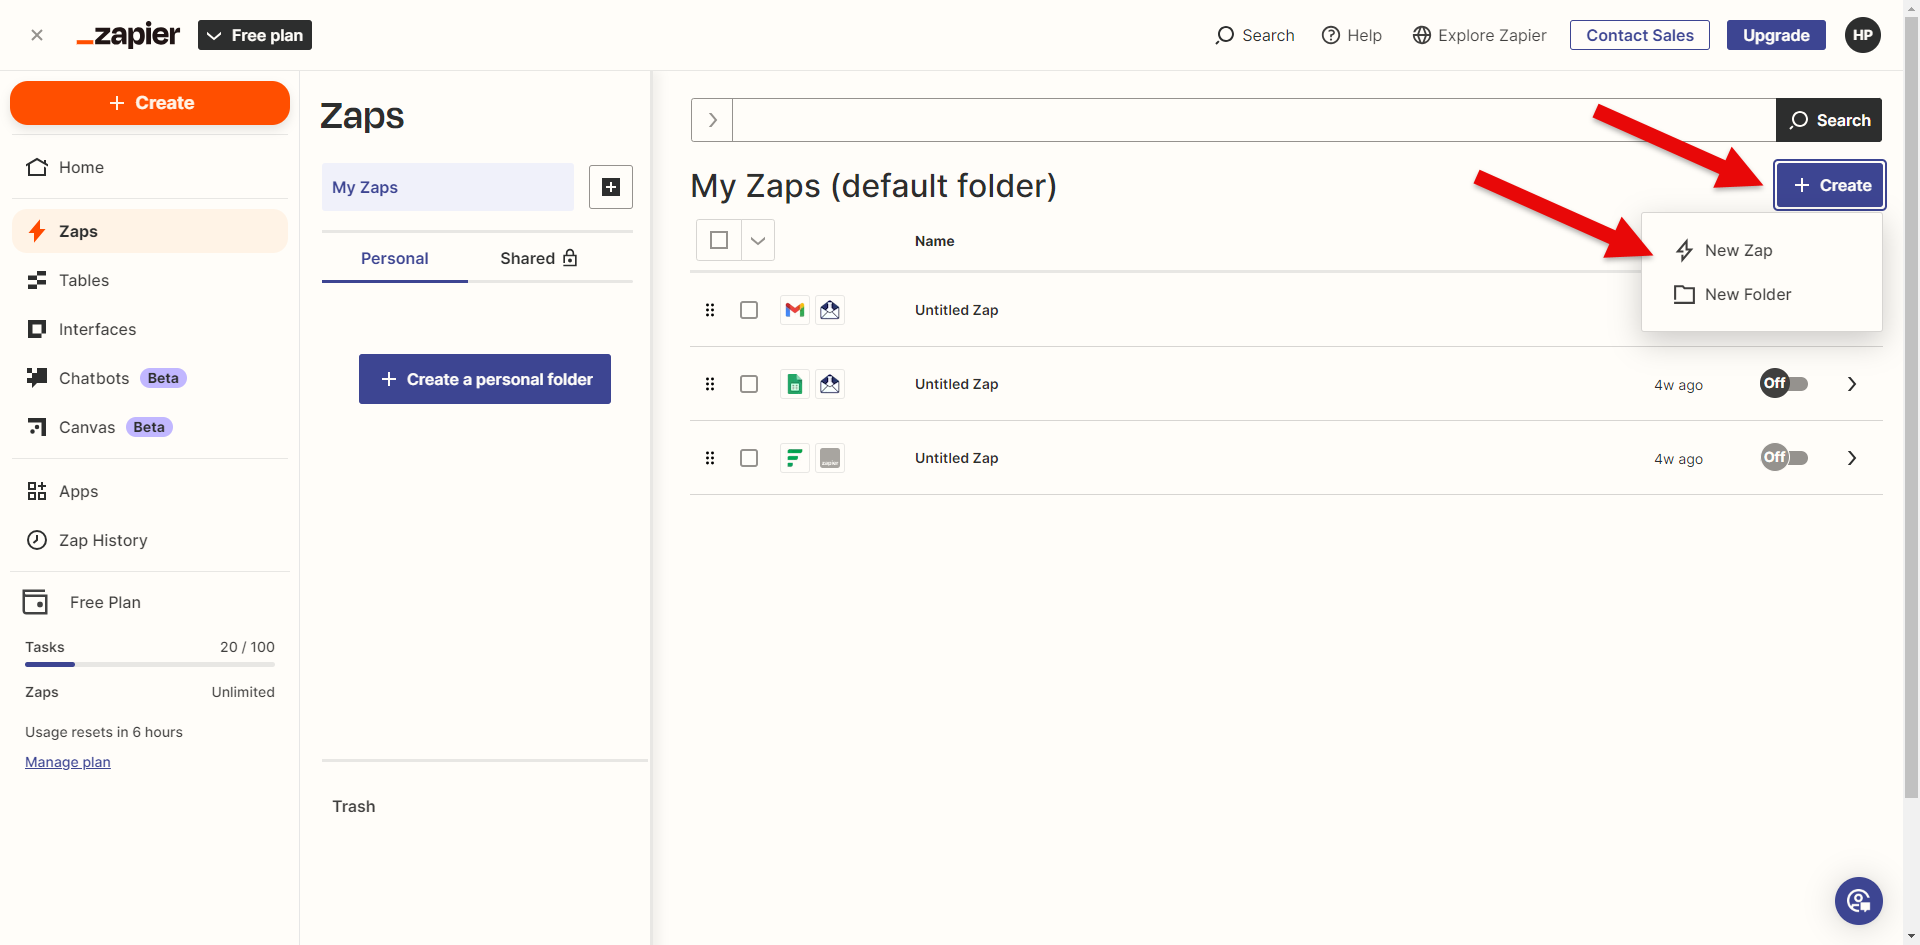
Click the blue +Create button on the righthand side of your screen. And then click “New Zap”.
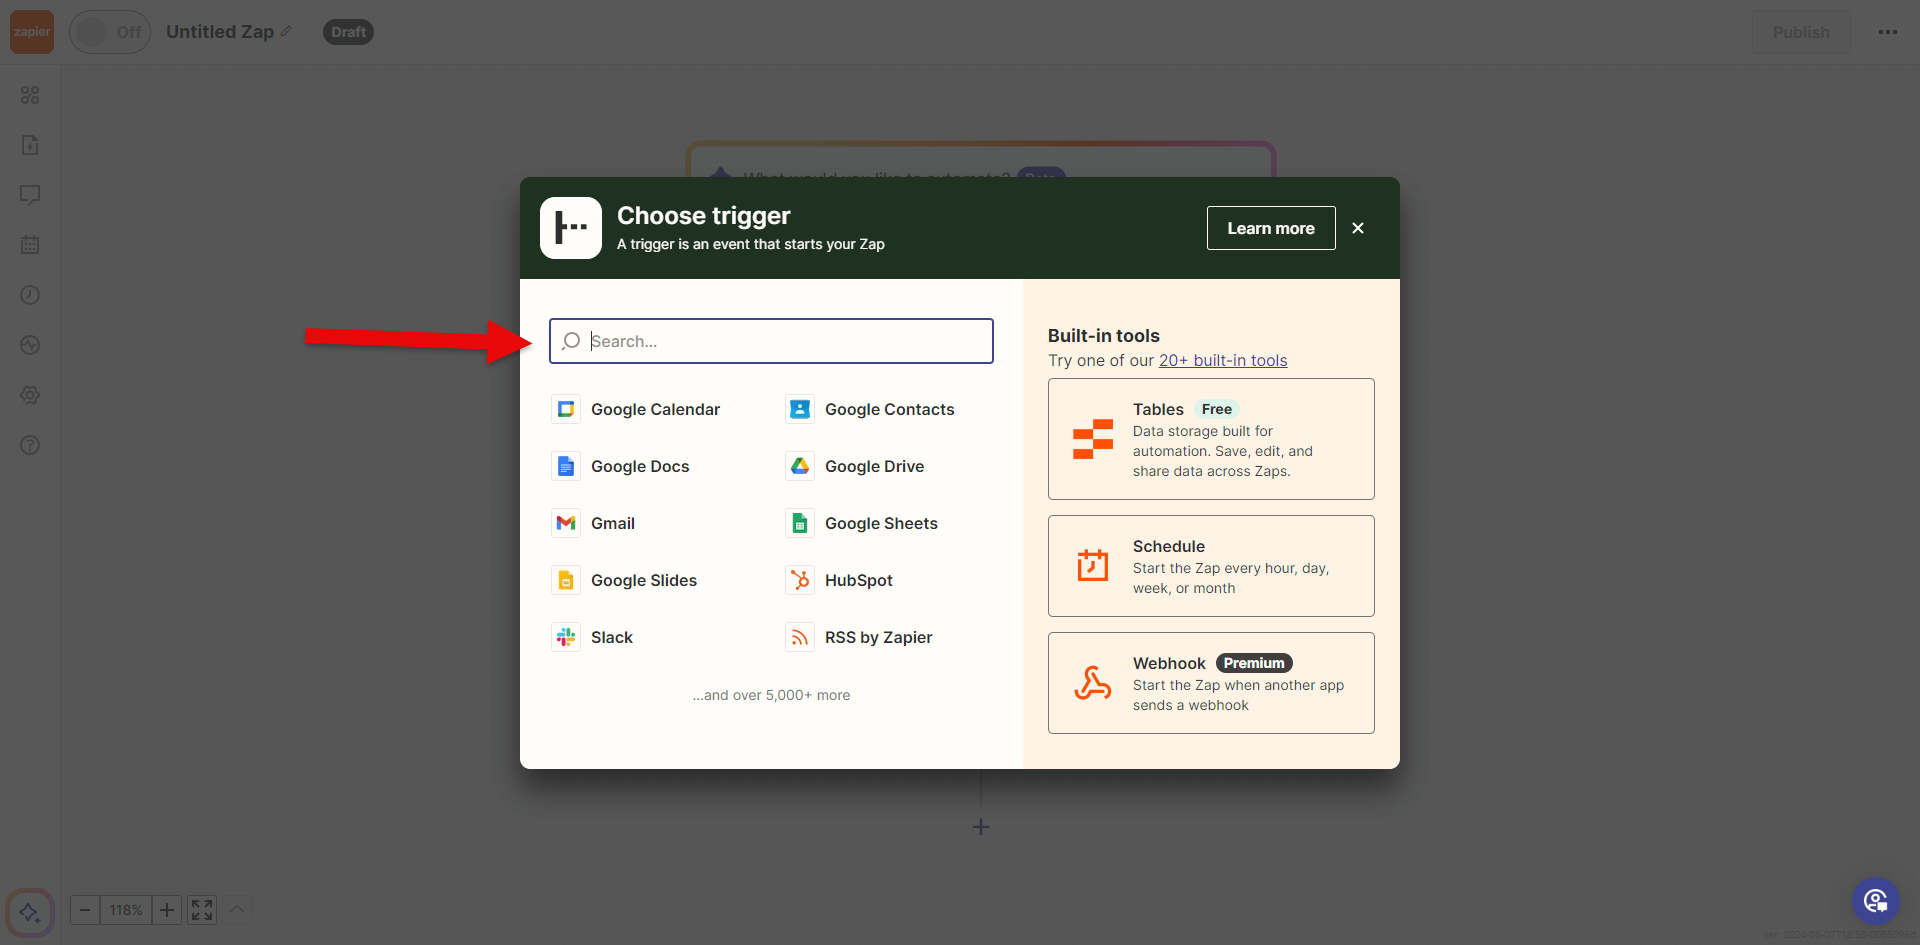
Next, we have to tell Zapier what “Trigger” LettrLabs will use to send your direct mail order. We do this by setting up a Trigger.

Choose the app that Zapier will use to trigger your mail. This can be your CRM, a Google sheet, Slack, etc.
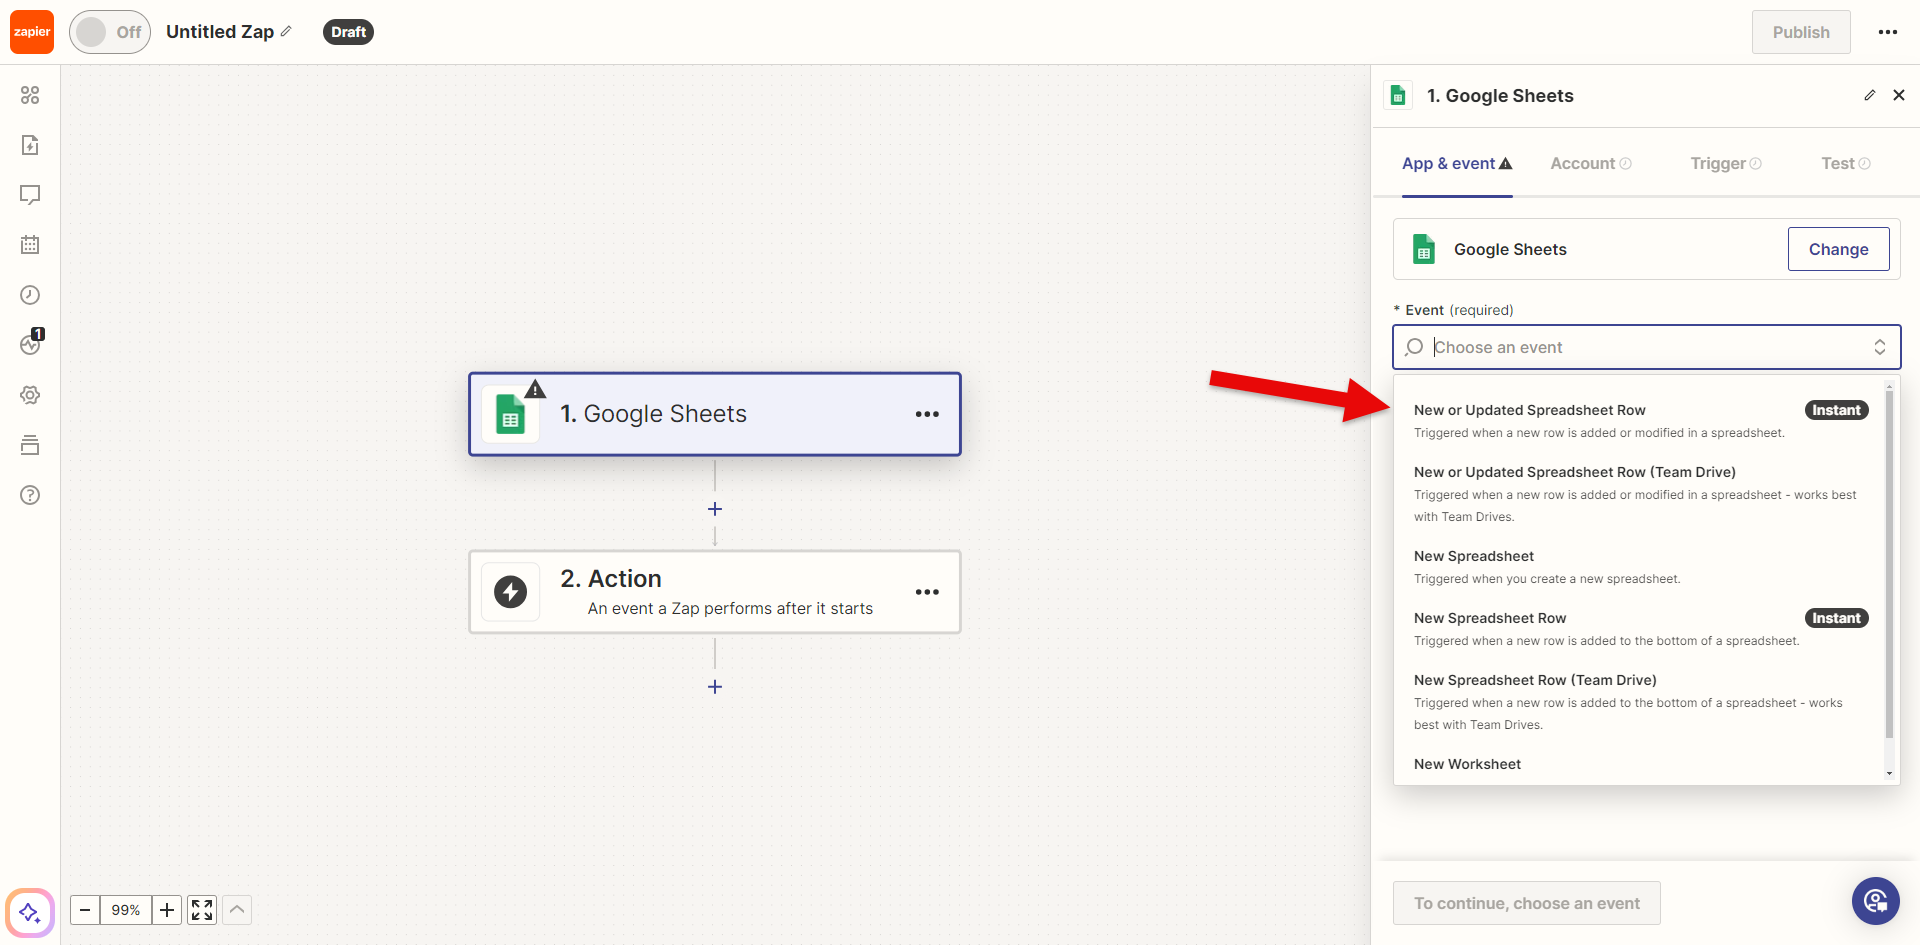
In this example, I’m connecting to Google sheets. I’m setting this up so that every time I add a recipient to the google sheet the added recipient will get a card. The “Event” will be adding a new recipient in a new row on my Google sheet.

Now that we have our event added, let’s tell Zapier what to do with that information. Let’s choose an “Action”. Click on Action and search for LettrLabs.
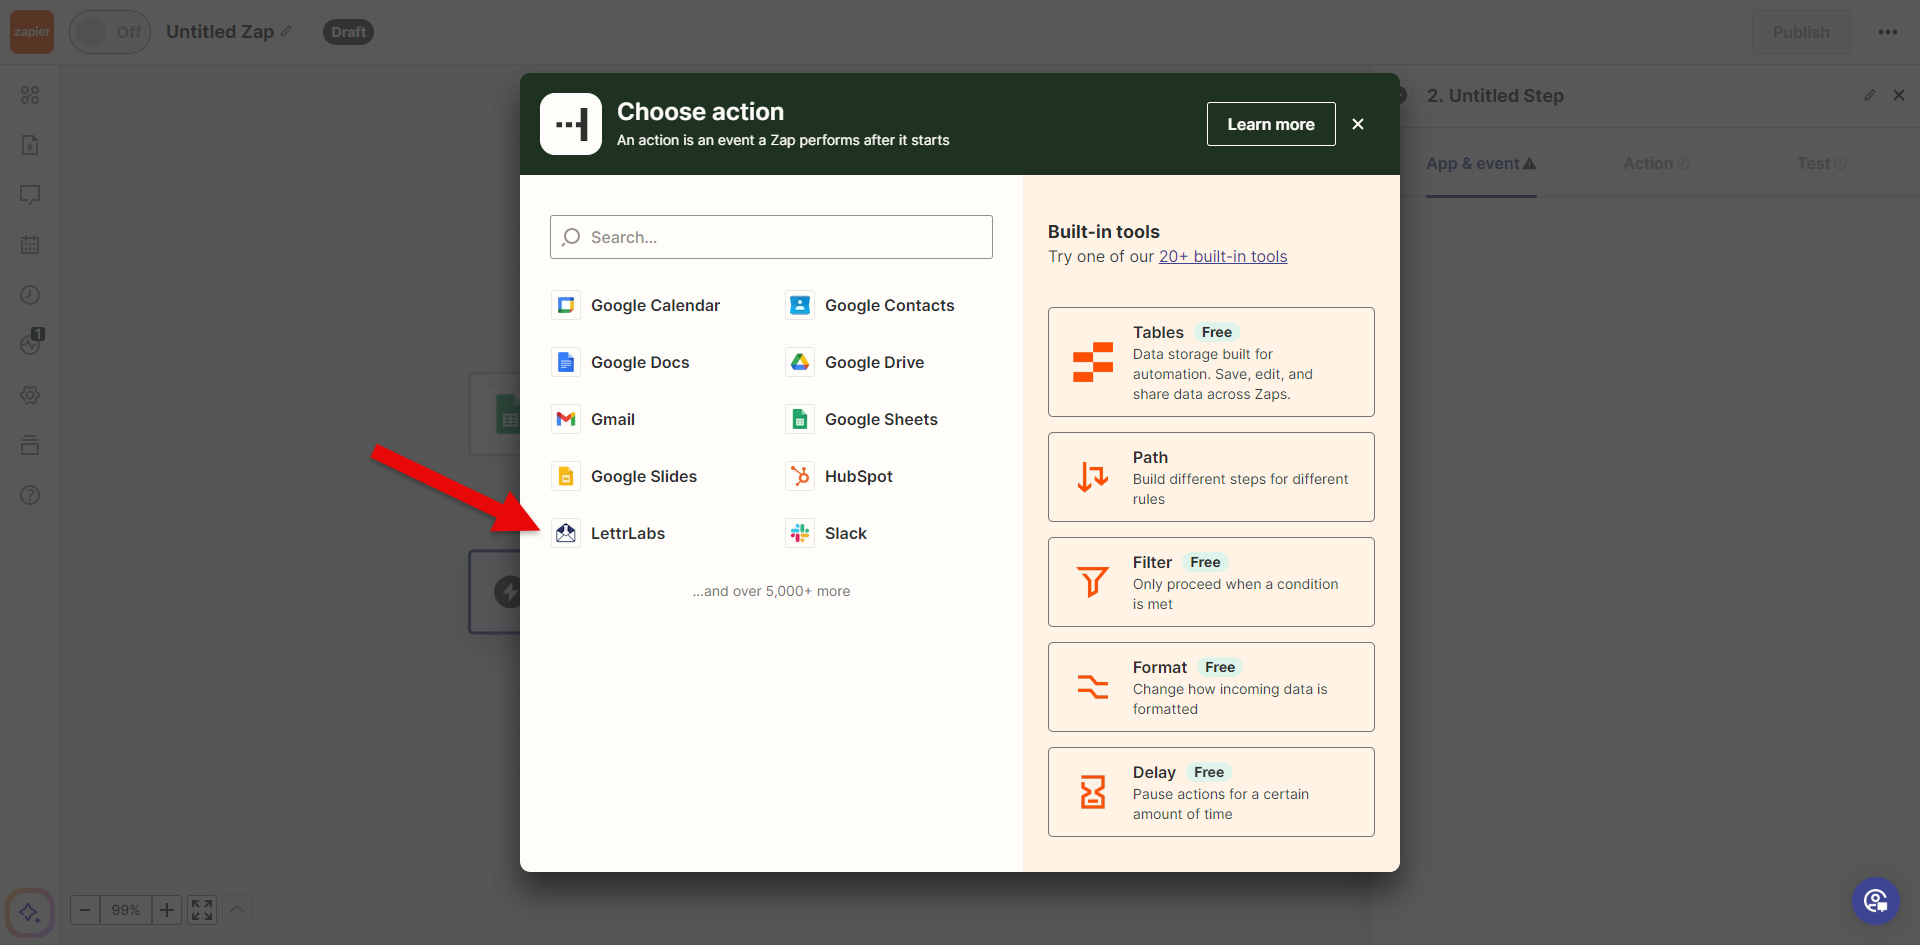
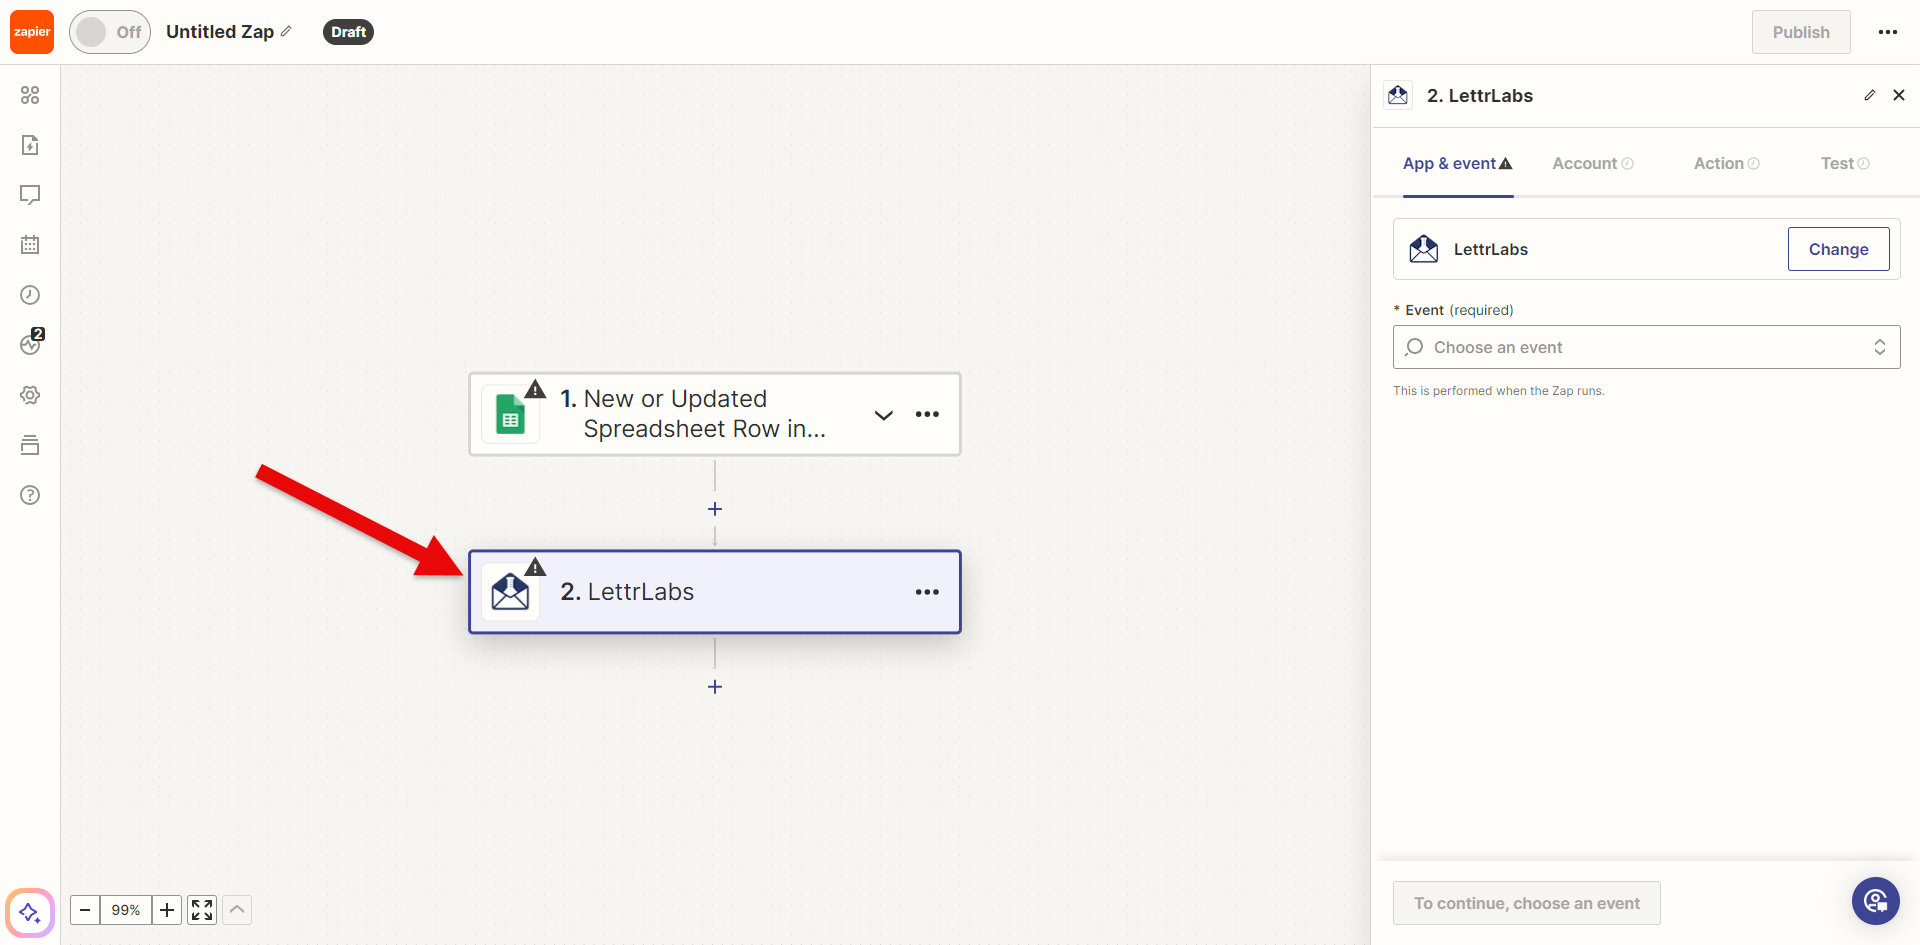
This is how it will look after you select LettrLabs.
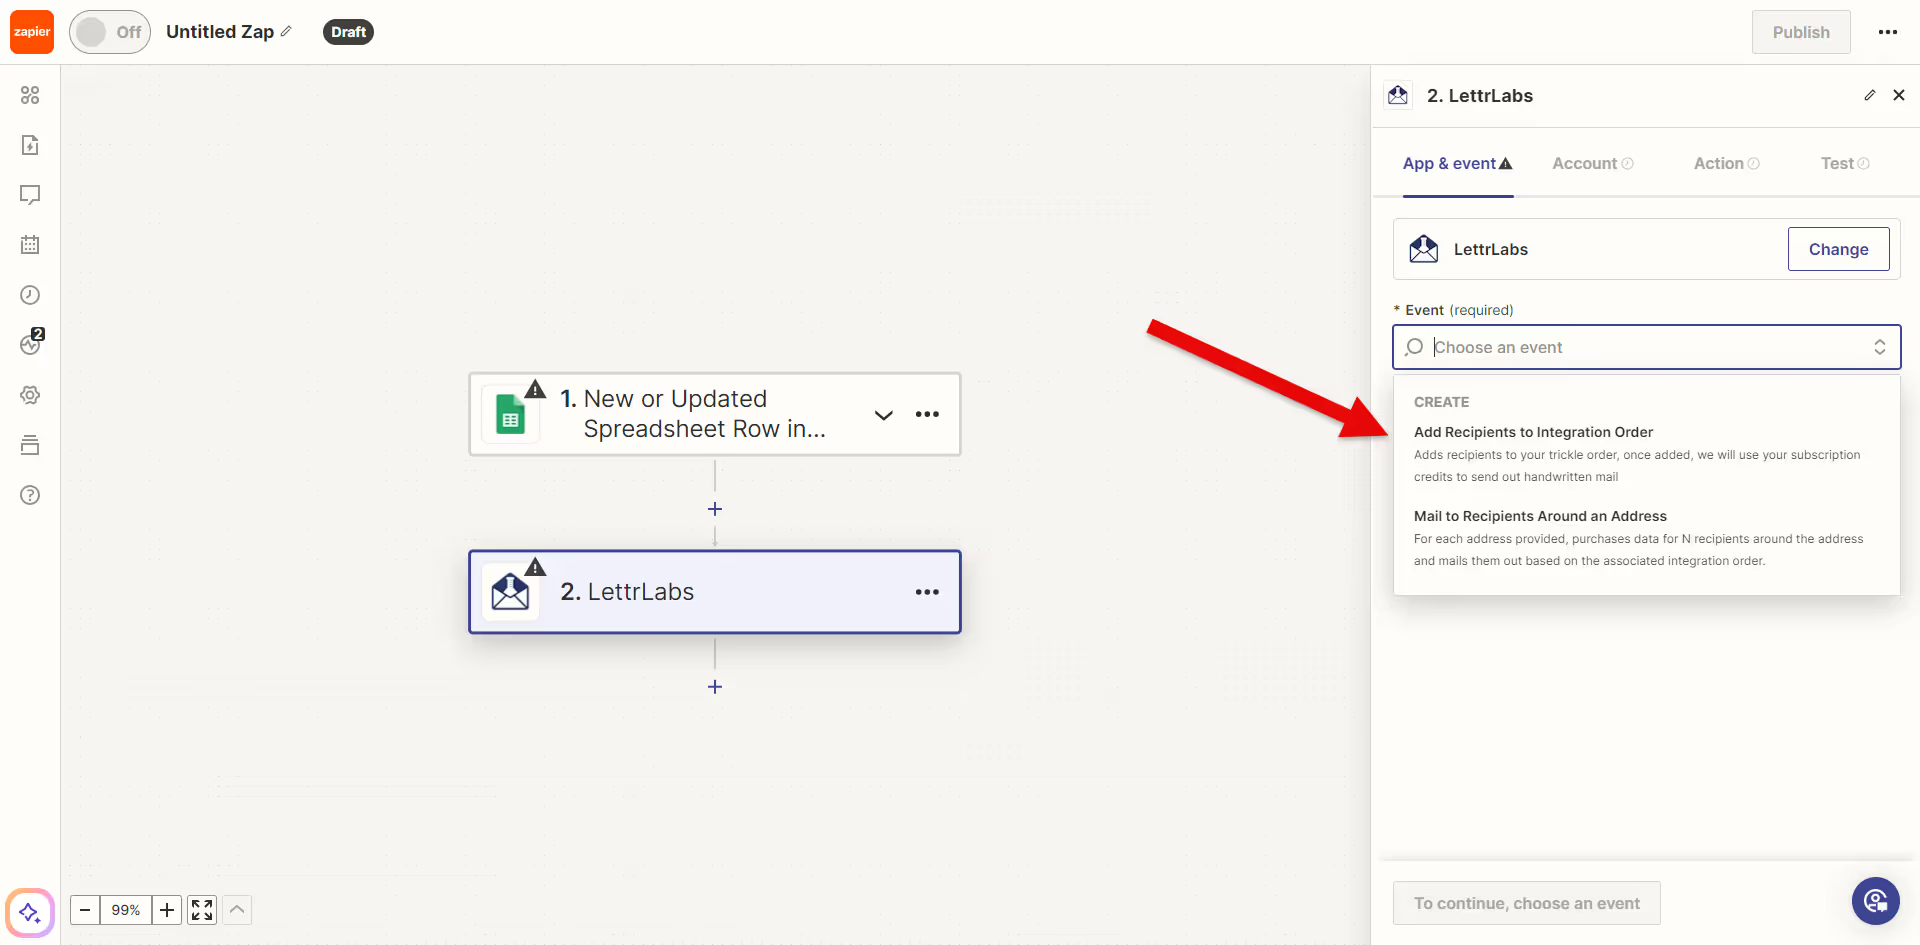
Here is where you have a choice. You can choose to either send a card to a single recipient or send cards to several addresses around a pin address. The process is the same so I’m going to add Recipients to an Integration order.
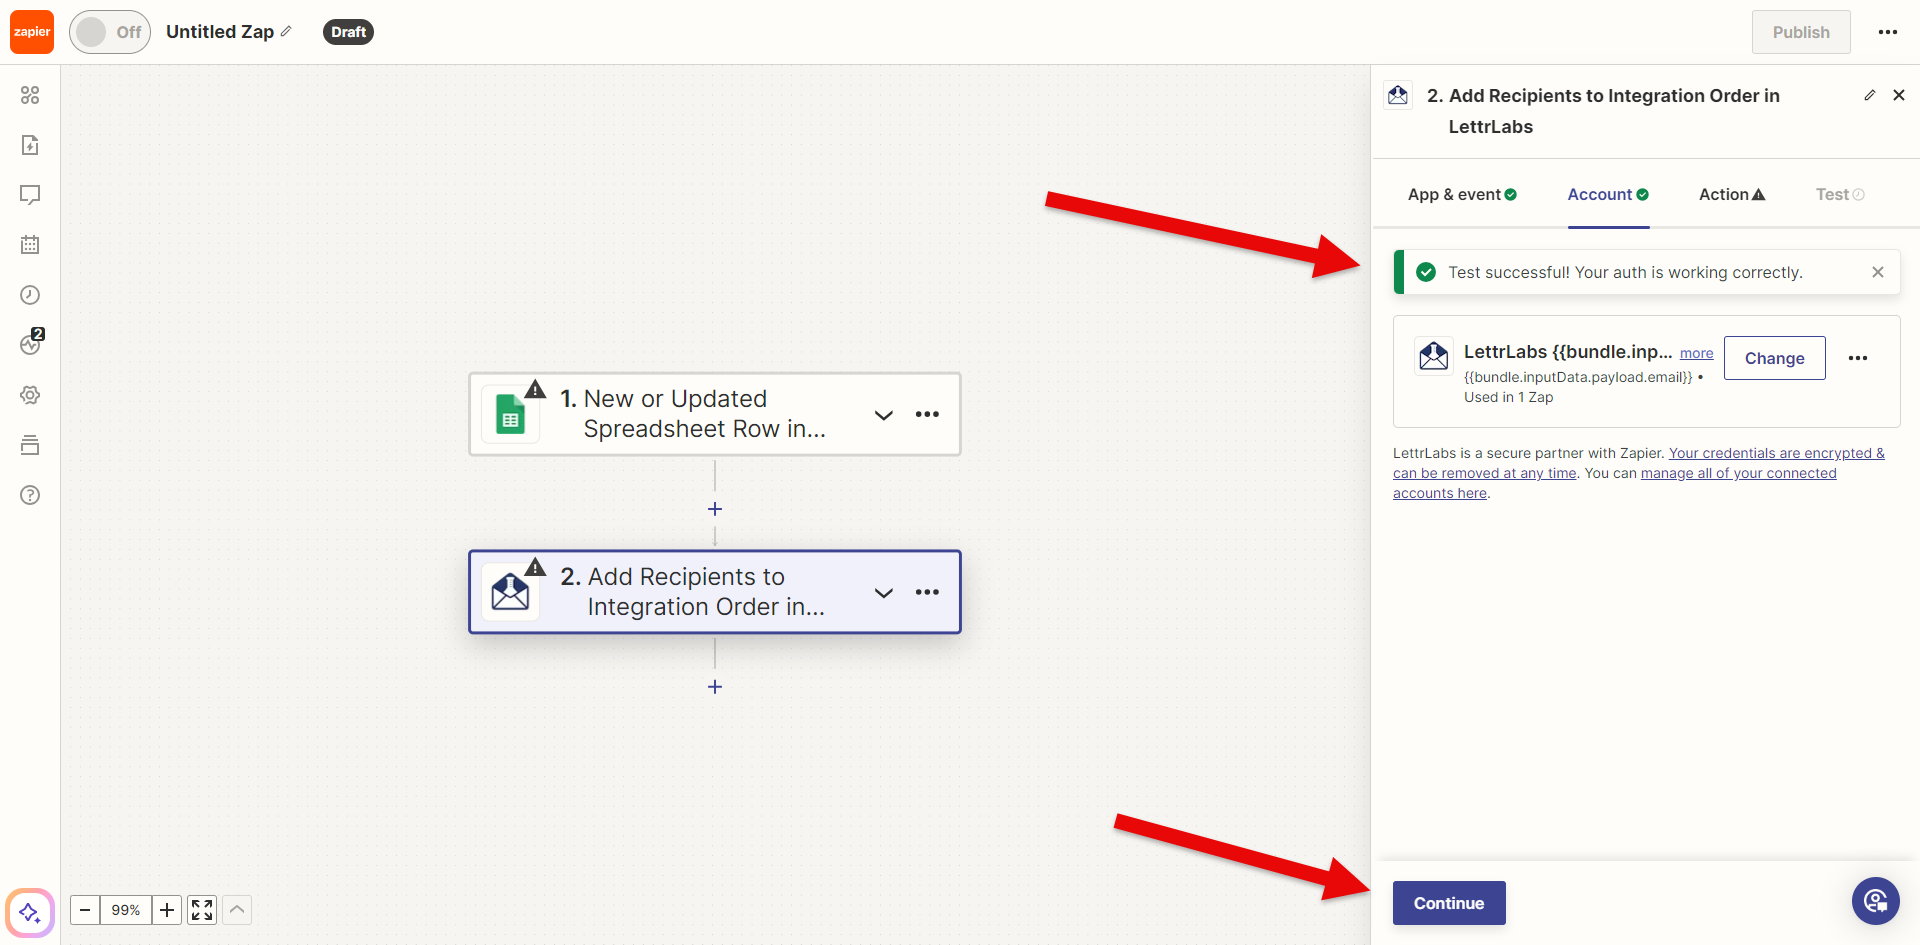
To add a single recipient to an order, click “Add Recipients to Integration Order” then click Continue. Choose an Account, this is the account you added your API Key for.

If your connection is successful, you will see the banner that tells you your test was successful. Click continue.
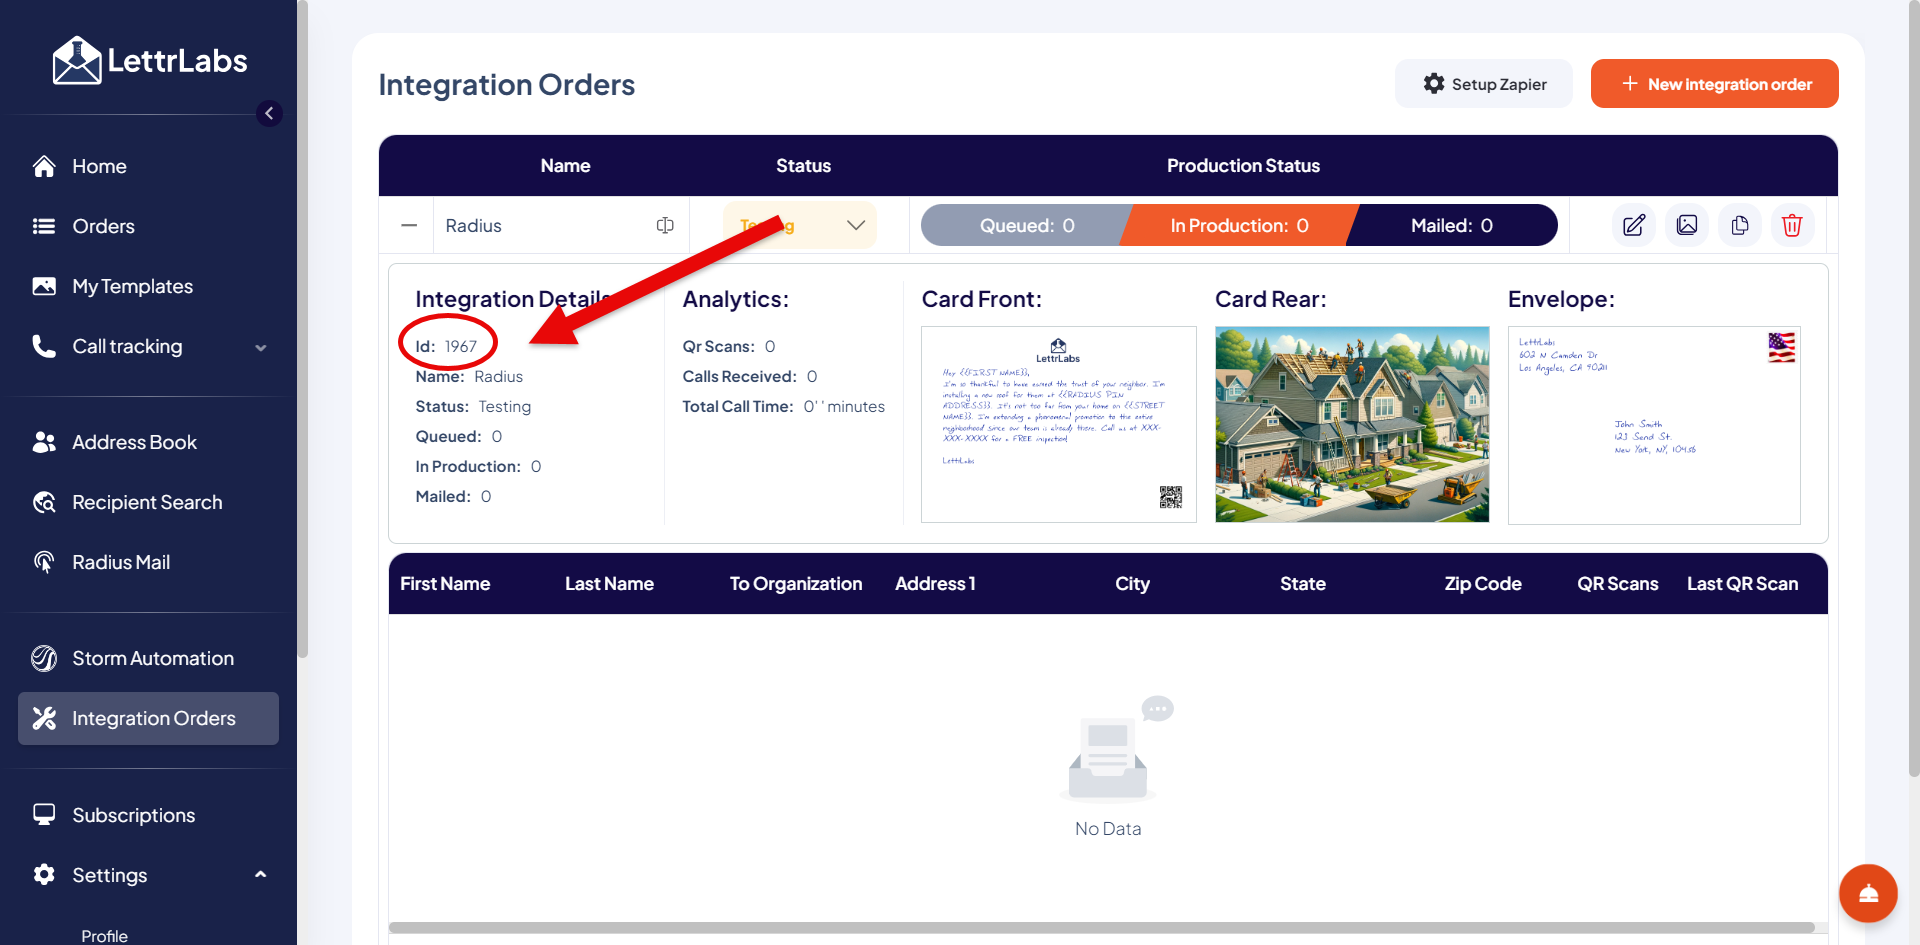
Add your integration order id#. You can find it in the LettrLabs portal here. It will change the Integration order id # to the name of your integration order in the portal.
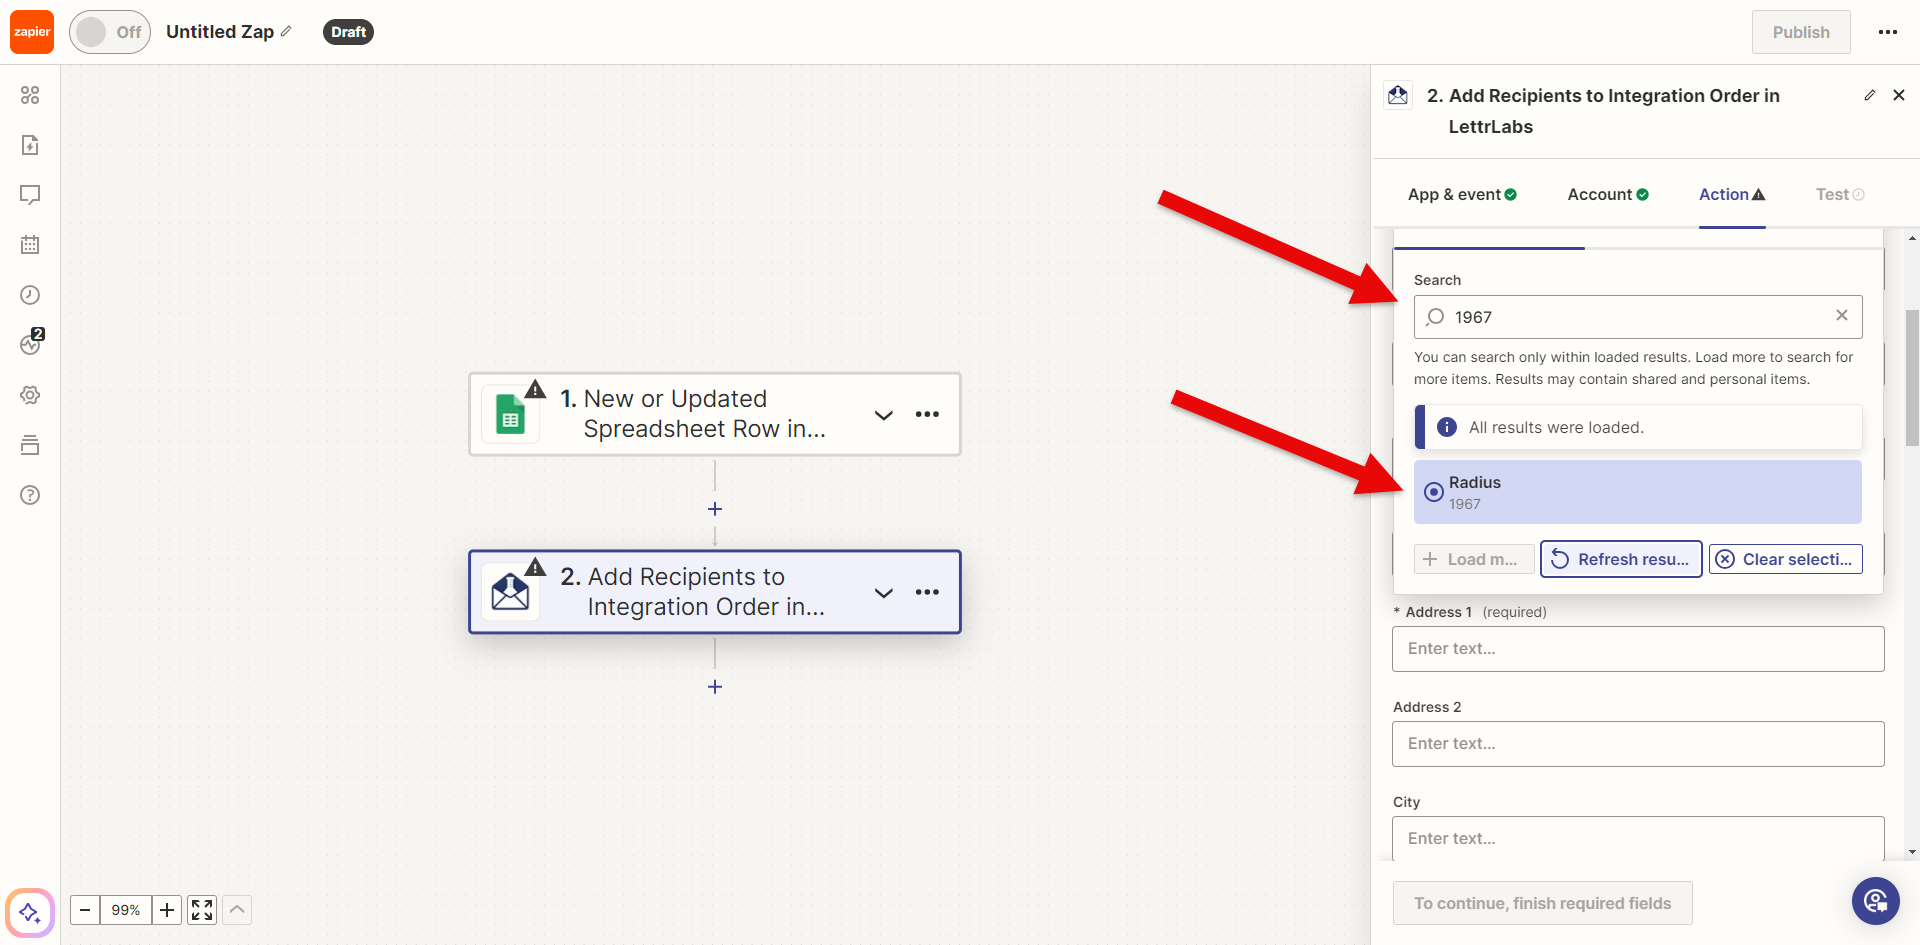
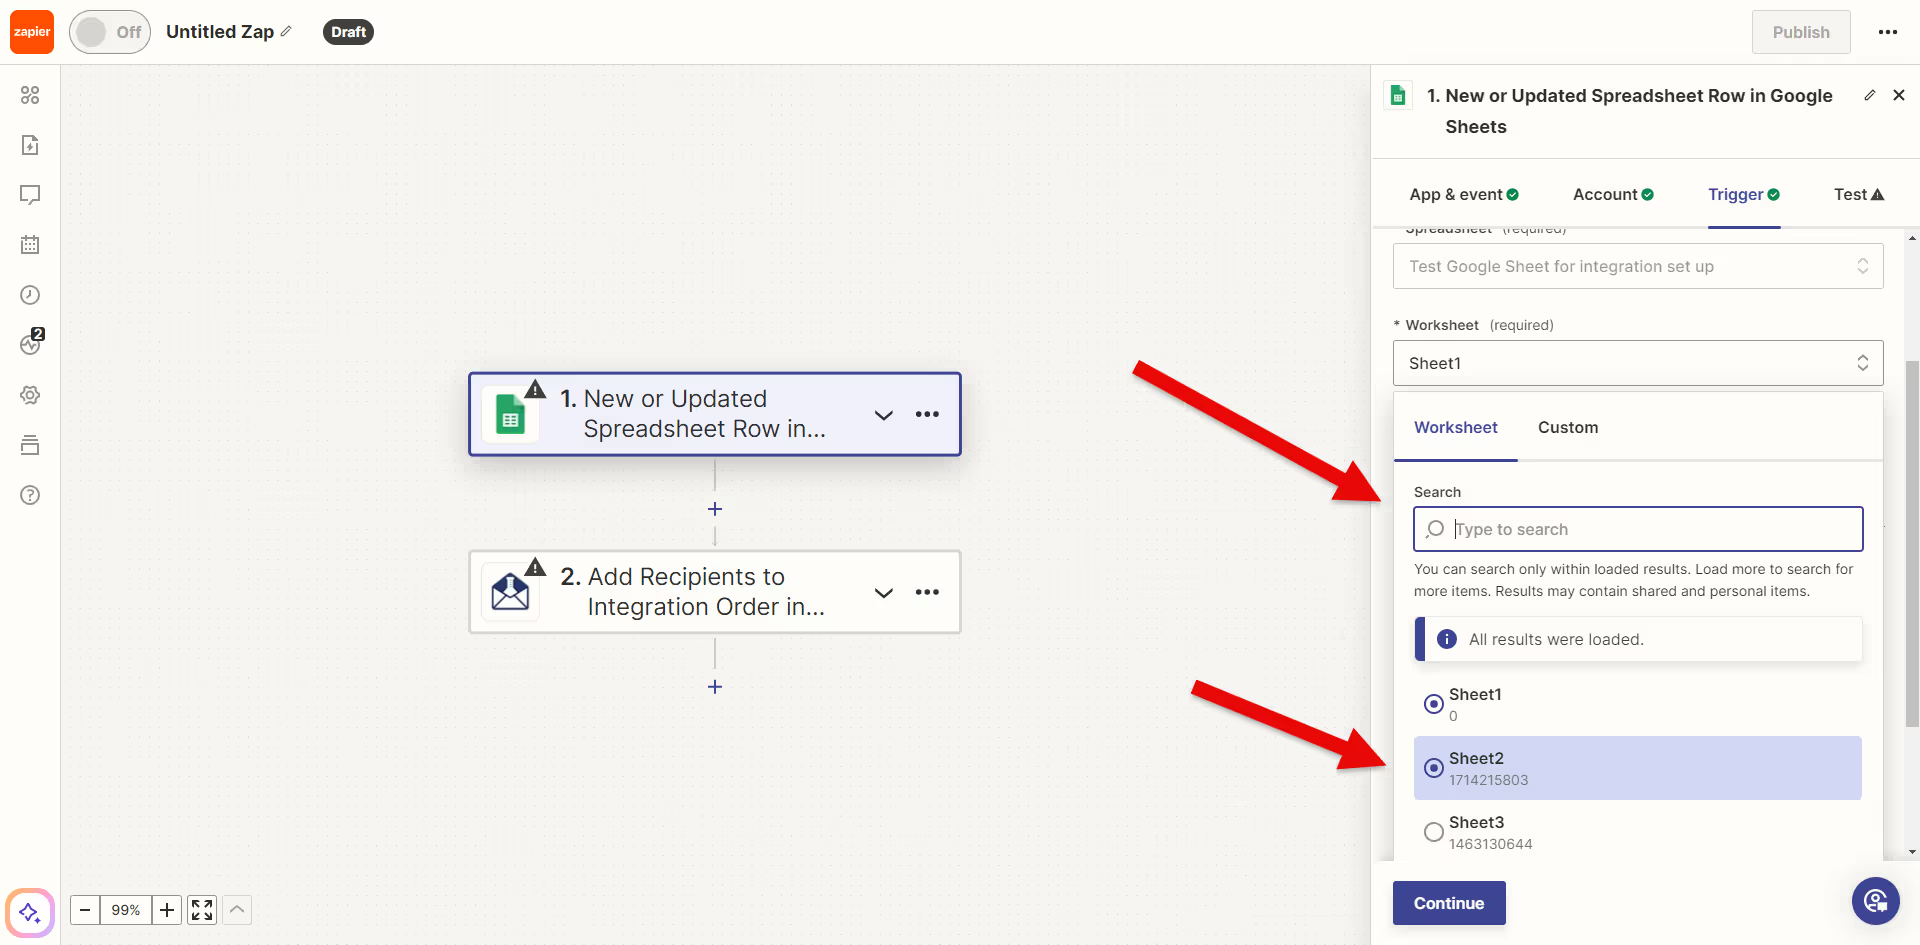
Next, you will match up your fields from your Google Sheet with Zapier to make sure the data is transmitted properly. Click “Spreadsheet” and Search for your Google Sheet, then click continue.
Click which sheet you would like to use, then click continue.
.avif)
Click which column you would like to use as your trigger. I’m going to set this trigger so that everytime we add a new zipcode, it will send a zap to send a card. (Leave it blank if you want your Zap to trigger on any column.) Then hit continue.
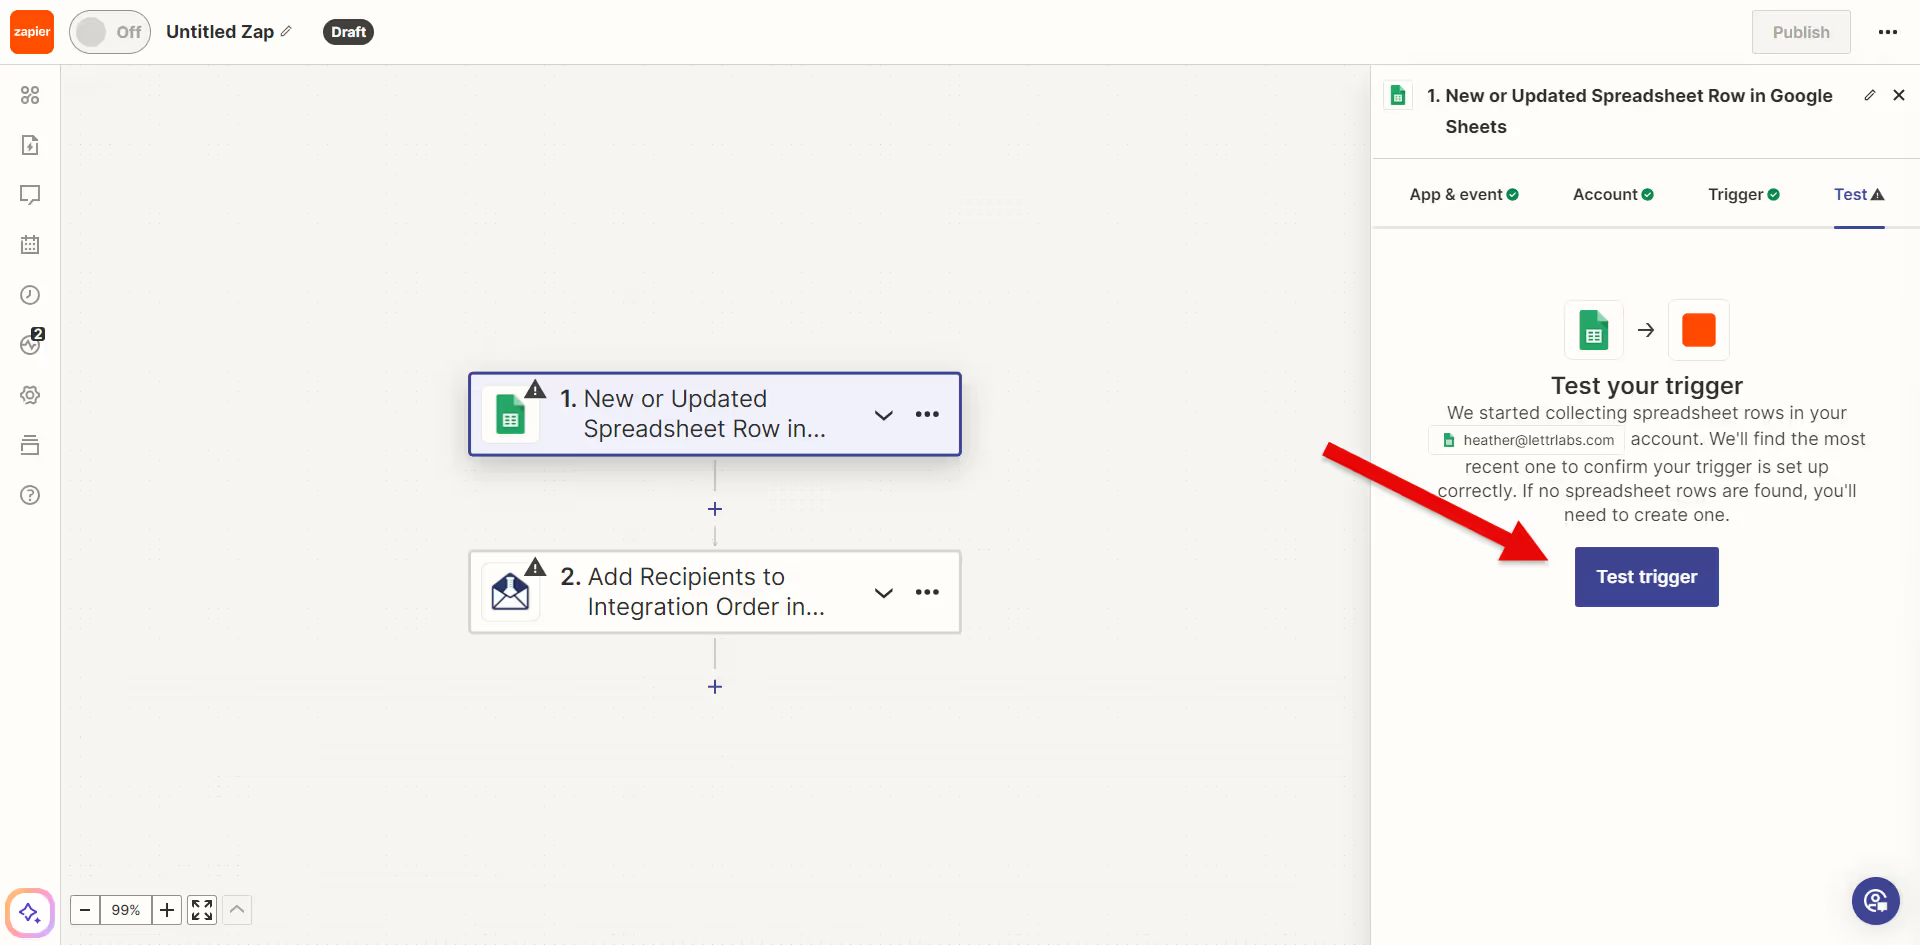
Test your Trigger!
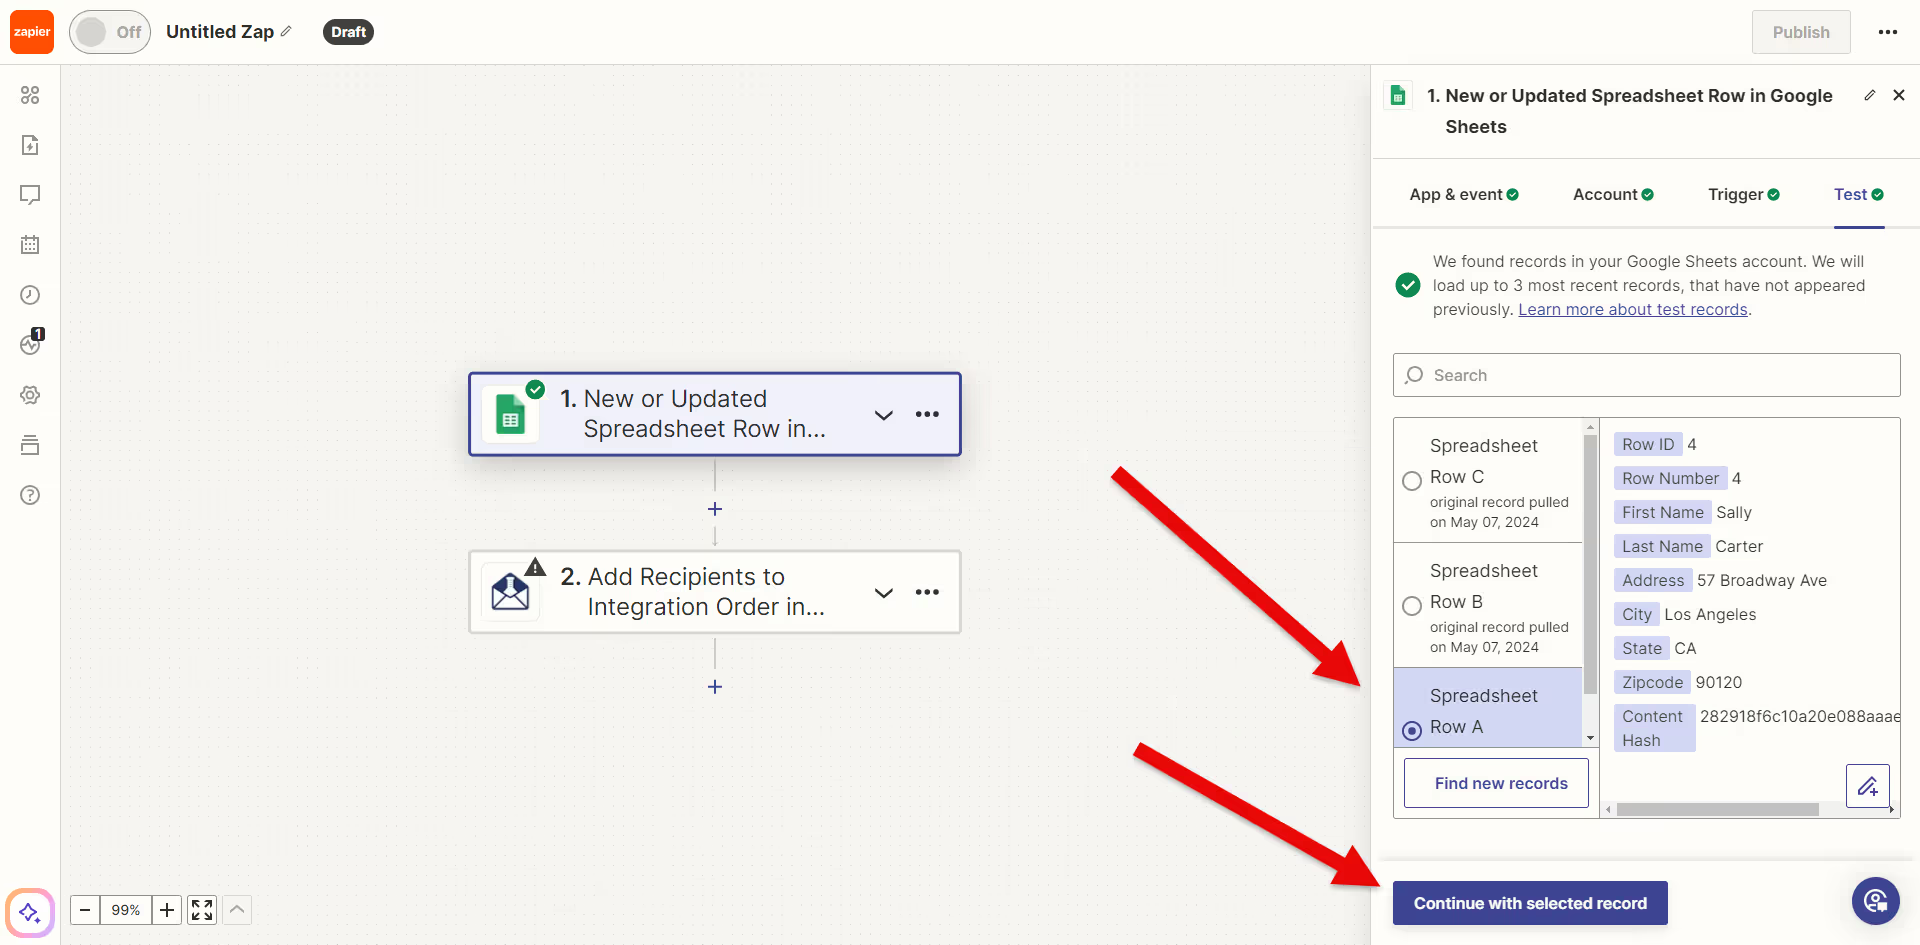
Next you will see 3 different records to compare to your original spreadsheet. I’m choosing Spreadsheet A because the data matches what’s on my google sheet. Then hit Continue with selected record.
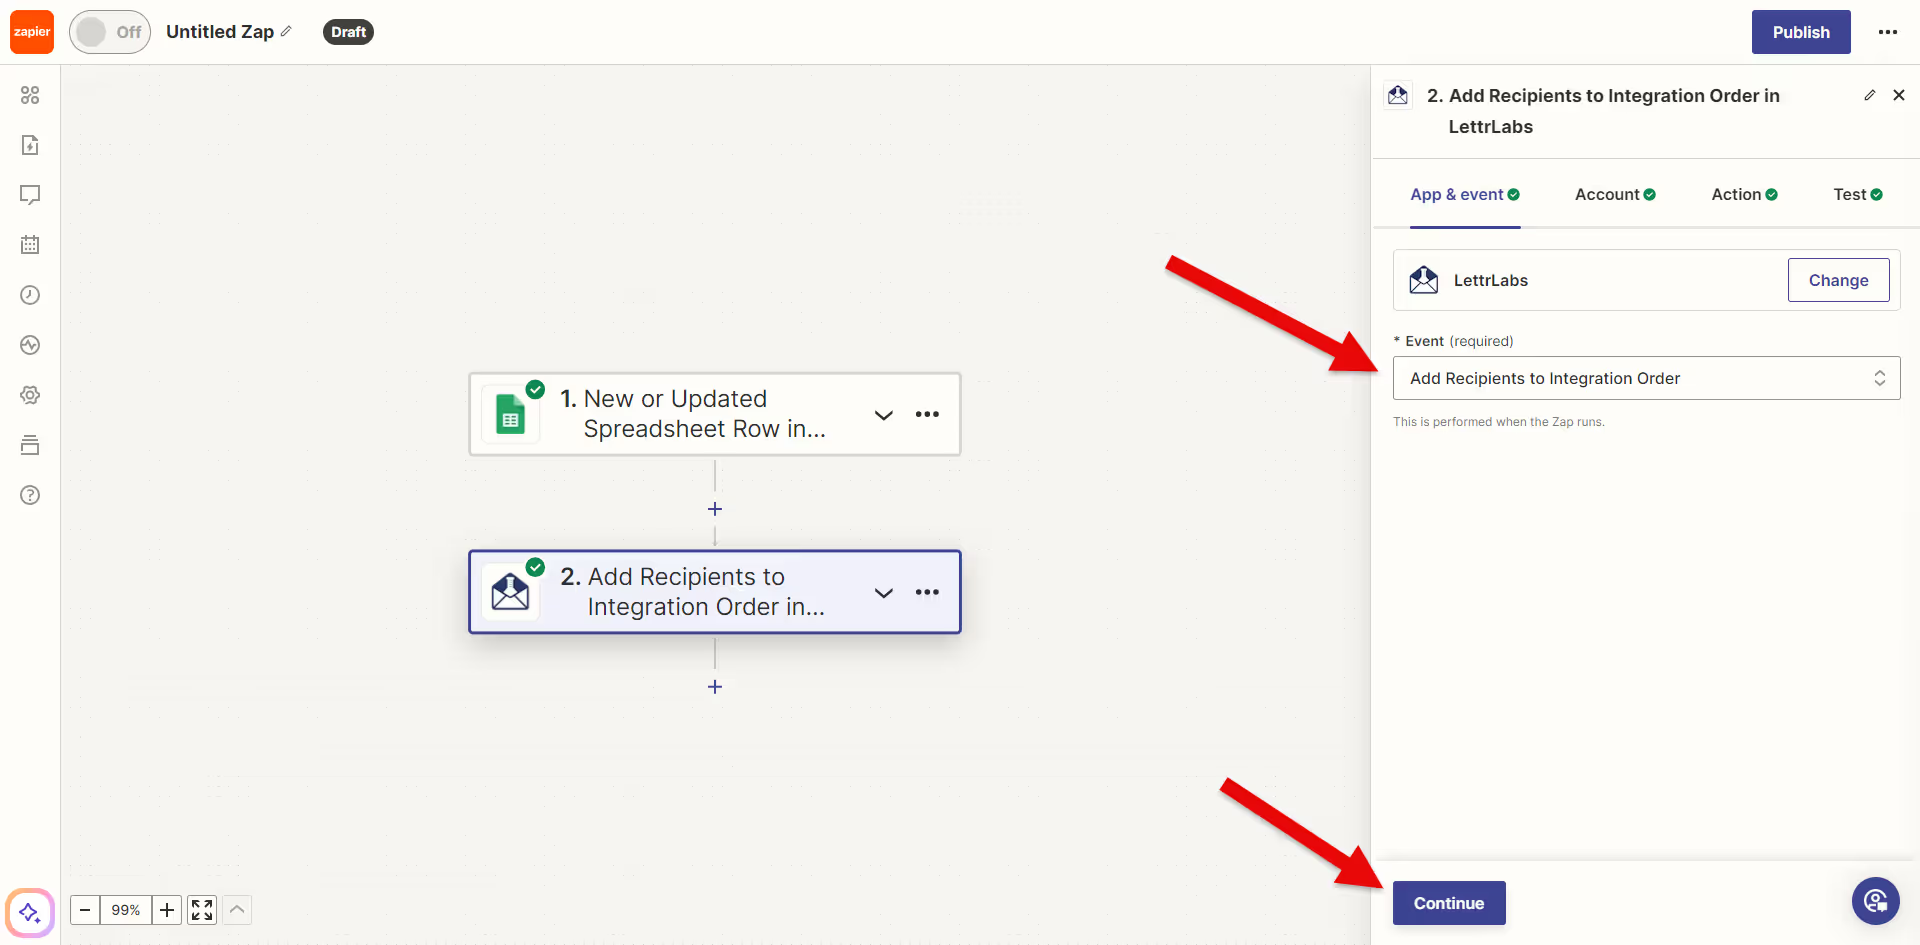
Now we will move onto the testing phase. After you hit continue in the last step it takes you to Add Recipients to integration order. Verify what your event is and hit continue.
Verify that you want this connected to your LettrLabs account and hit continue.
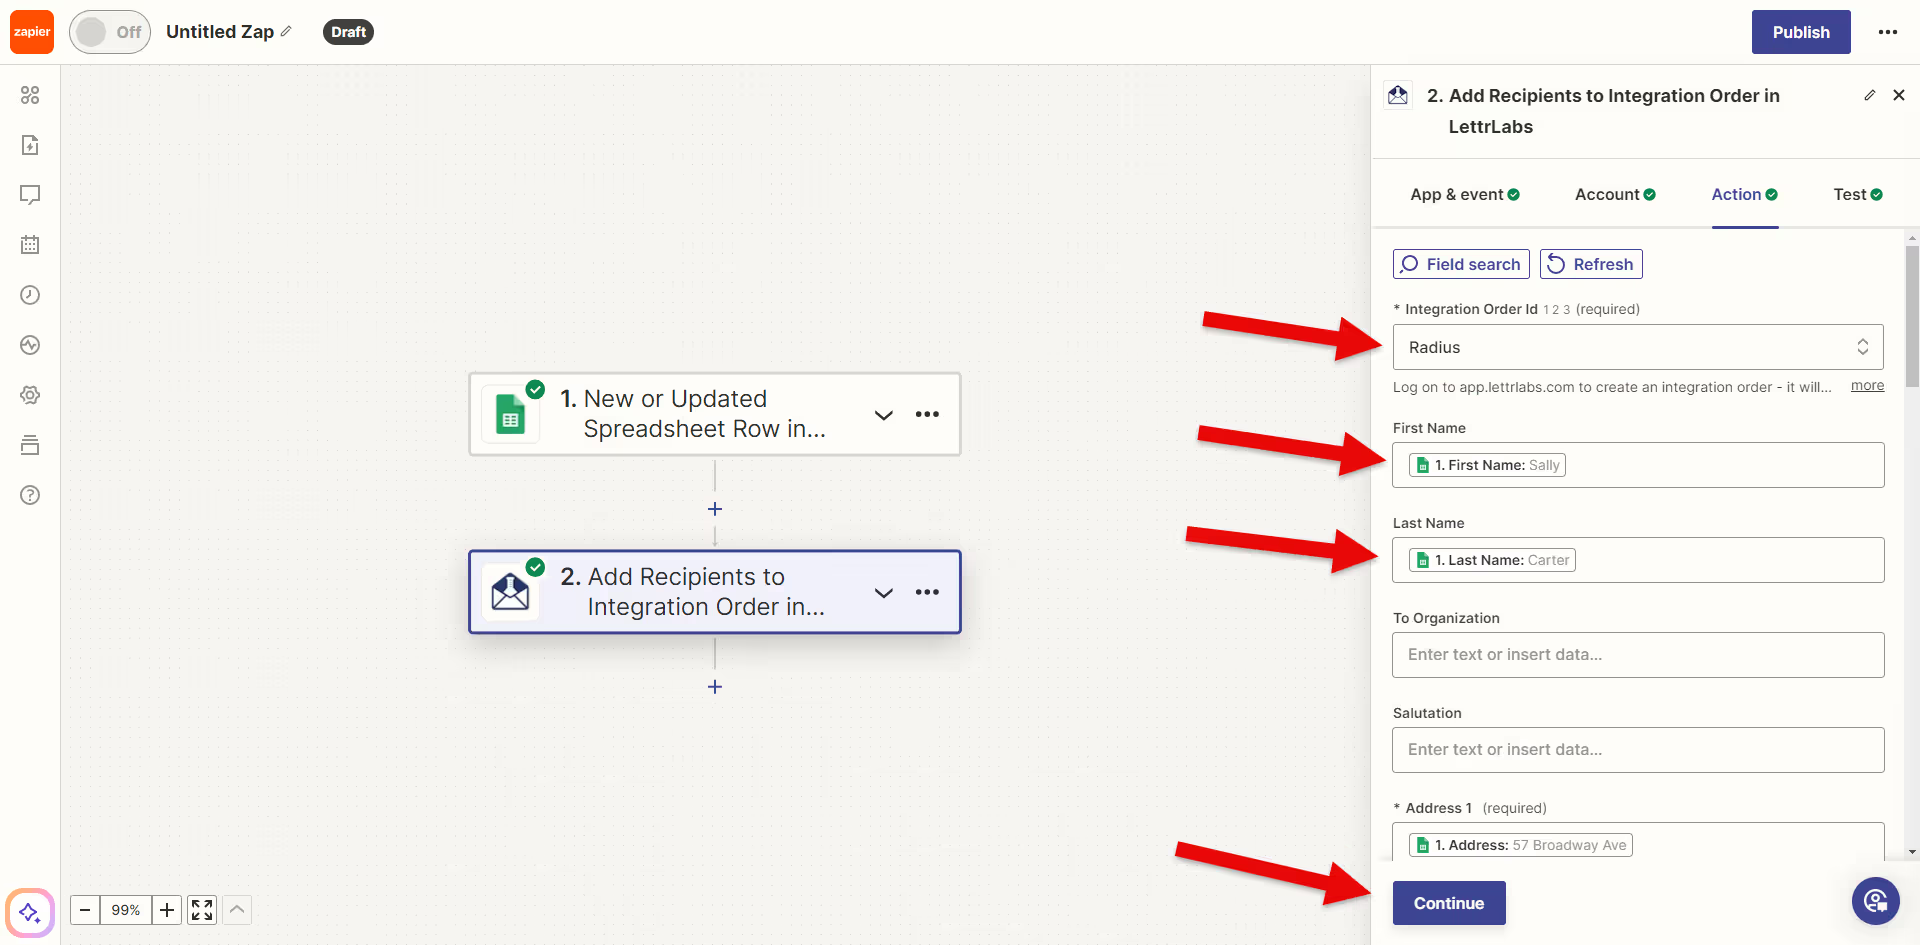
Verify your Integration order and match the fields to your google sheet. If your google sheet doesn’t have a corresponding field, leave it blank. If you have custom fields on your order that you want to incorporate, use the custom fields near the bottom of the list. Once you have everything mapped so it matches, hit continue.
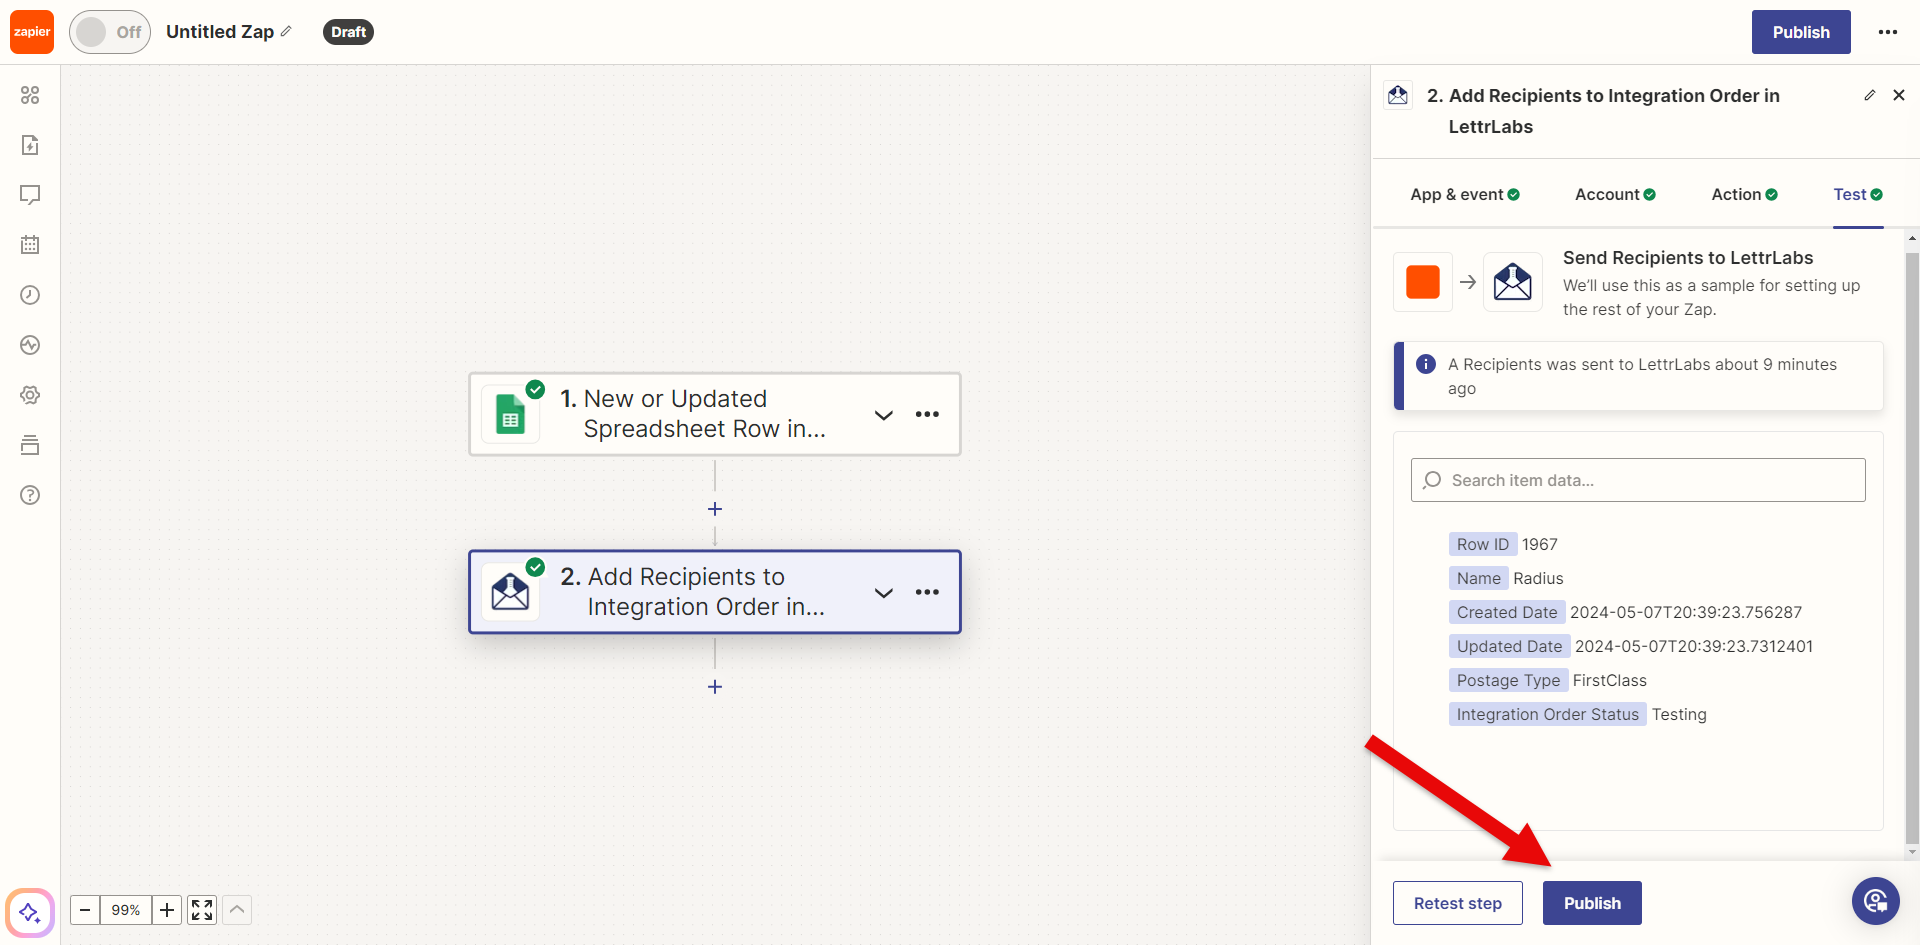
A test recipient was sent to your Integration order in LettrLabs and it should match what you have mapped.
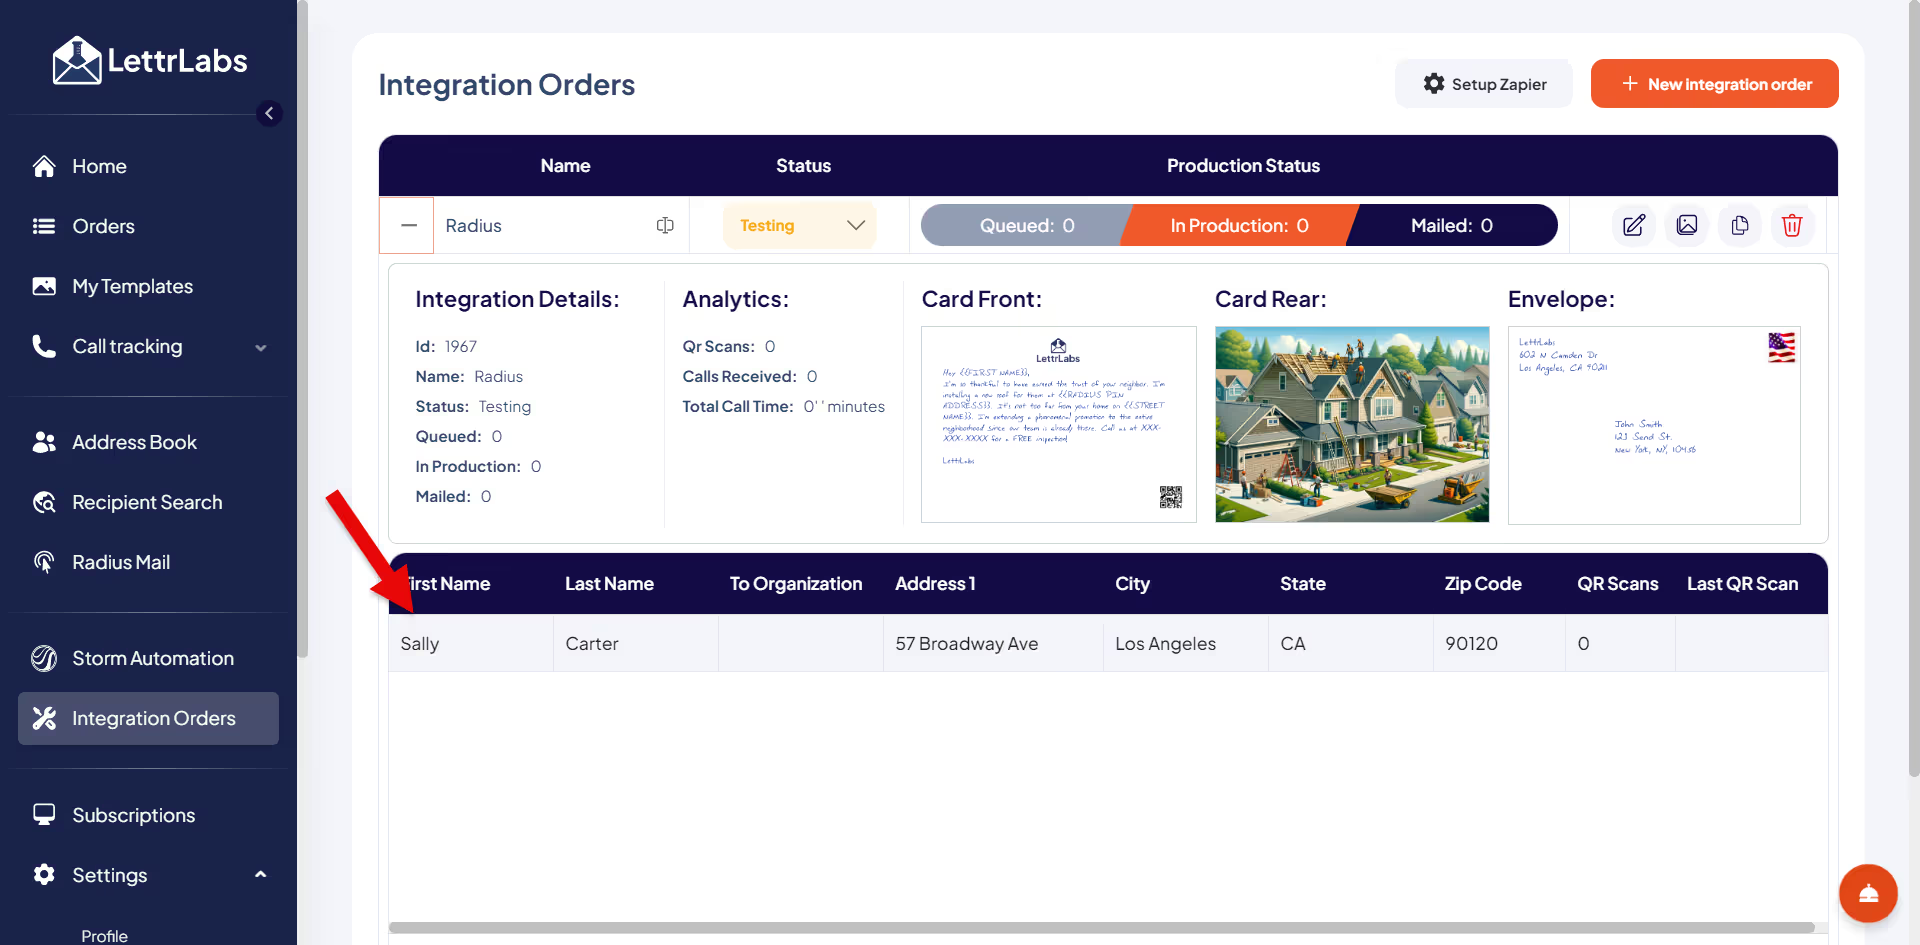
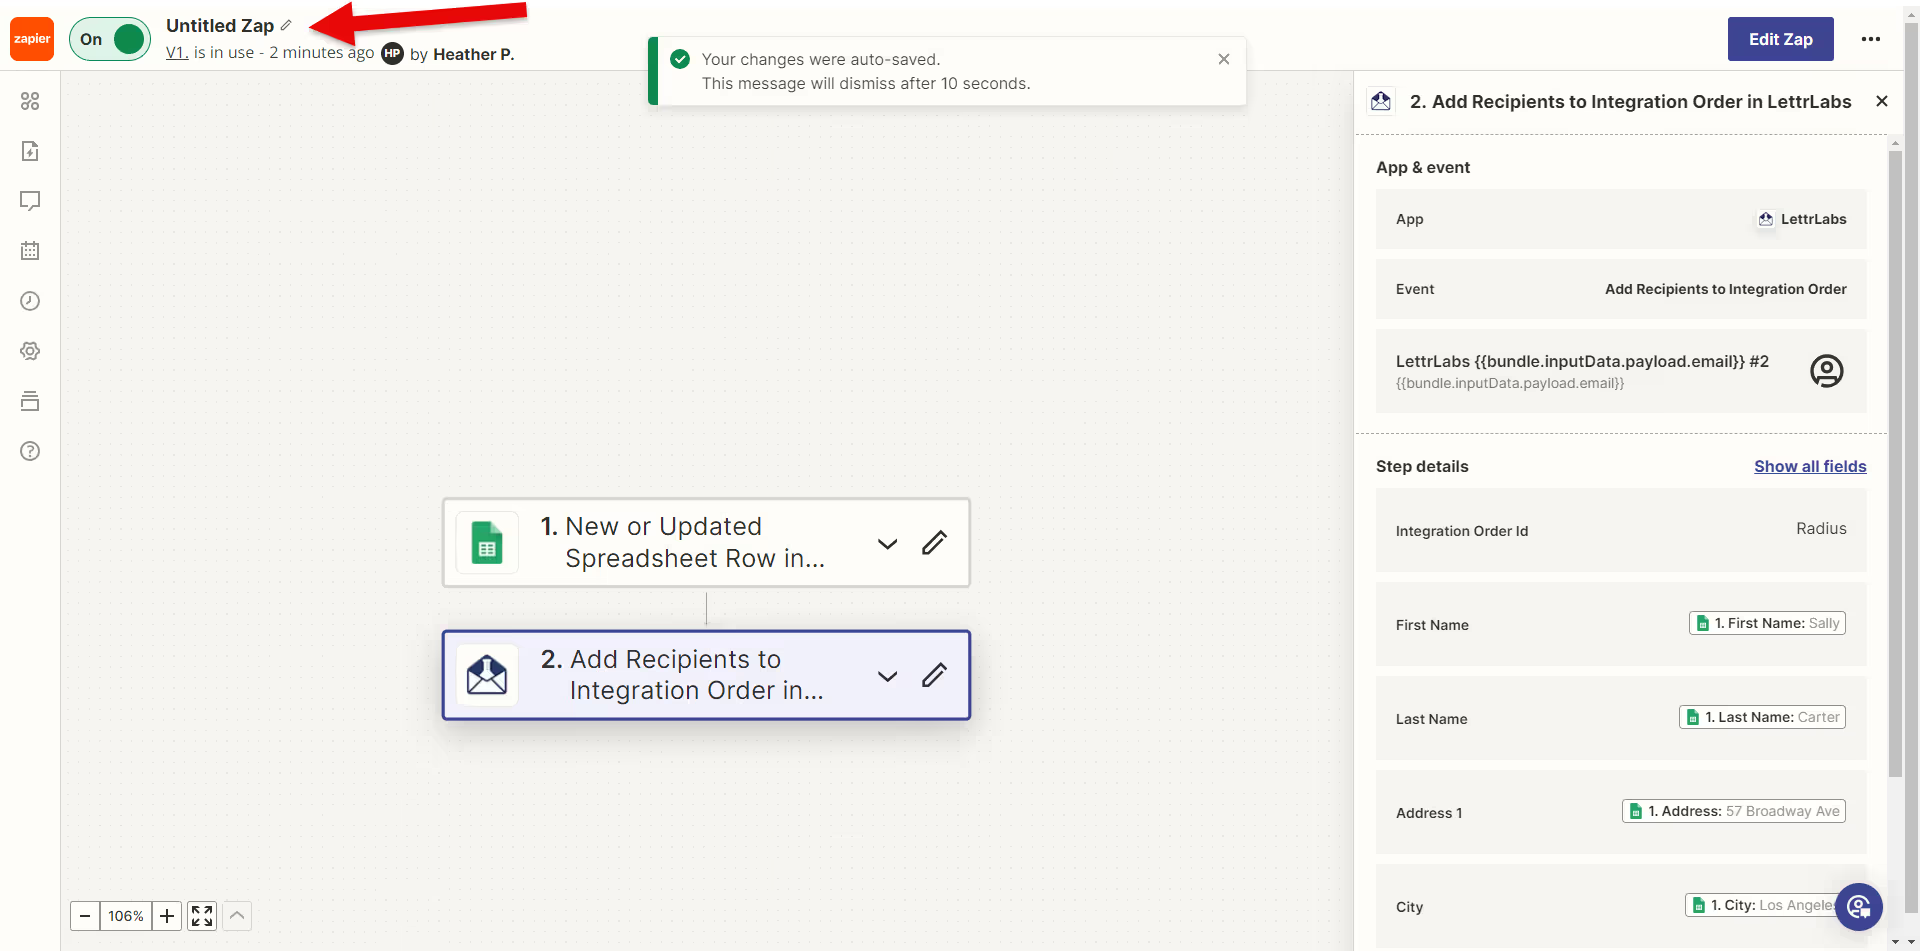
If everything looks correct in the LettrLabs portal and in Zapier, you can publish your Zap. Your Zap is on. (If not, you will want to Retest this step.)

I would also recommend naming your Zap.
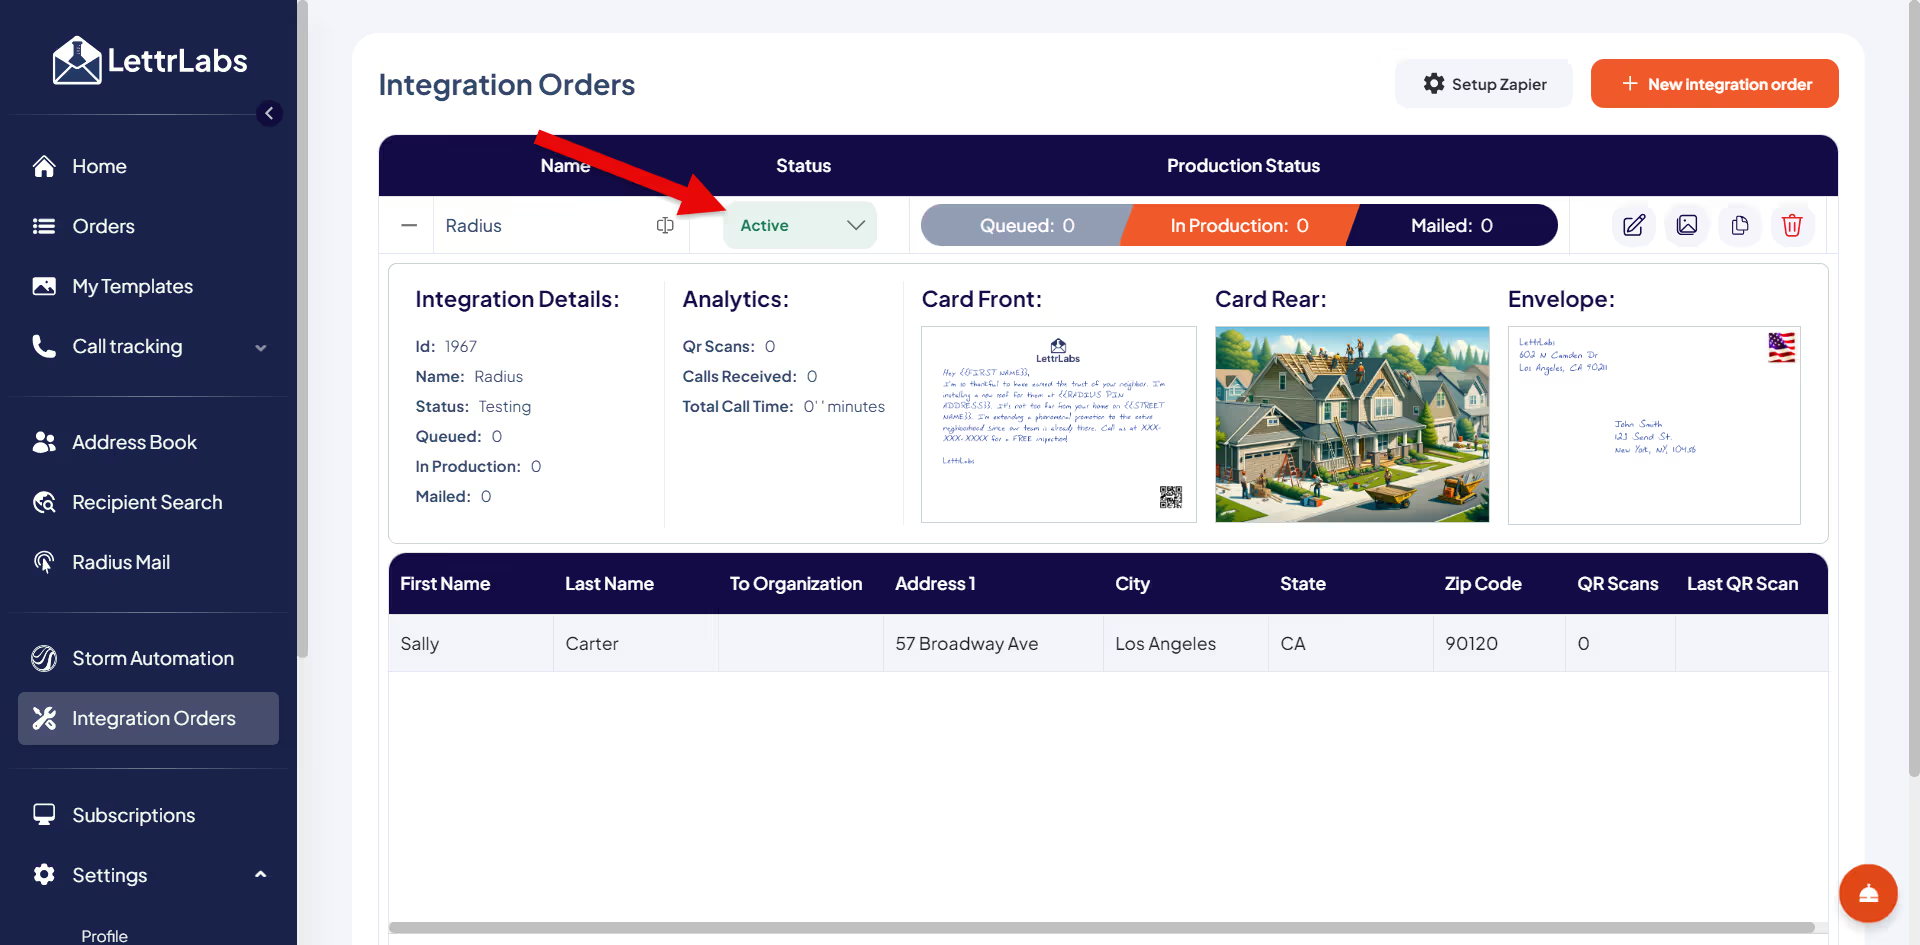
After you are done testing, you will go back to the LettrLabs portal and set your Integration from Testing to Active. *Any recipients received while in testing will not be mailed. *Any recipients received while in Active status will be mailed out.
You are done, you can sit back and watch as your orders are sent out anytime there is an update to your google sheet.







.png)


